Installing Windows Small Business Server 2011 Standard Part 1

Windows Small Business Server 2011 Standard has just been released to manufacturing, and is available through Technet and MSDN Subscriptions if your lucky enough to have one; I am, so what follows is my documented installation procedure for SBS 2011.

A couple of things to note before we start, the download from MSDN is over 6gb (just for disc 1) you’re going to need a DUAL LAYER DVD/RW to write this ISO to a DVD – or like me – use Hyper-V to install.

Once you have the Disc or ISO ready, I guess we need to check the Hardware Requirements?

You might want to review the latest info here on the release notes : Technet/SBS

At the time of writing the following is correct:

Processor: Quad core 2 GHz 64-bit (x64) or faster / 1 socket   (4 sockets maximum)

Physical memory (RAM): 8 GB Minimum / 10 GB recommended (32 GB maximum)

Storage capacity: 120 GB

DVD ROM drive
 
Network adapter: One 10/100 Ethernet adapter

Monitor and video adapter: Super VGA (SVGA) monitor and video adapter with 1024 x 768 or higher resolution

Network devices: A router or firewall device that supports IPv4 NAT

Internet connection: Windows SBS 2011 Standard requires that you connect the server to the Internet.

Optional network devices:
1.Device required by your Internet service provider (ISP) to connect to the Internet

2.One or more switches to connect computers and other devices to the local network

Fax modem : Fax services require a fax modem

All set?

Do you have a RAID Controller in your system – Get the drivers now! Download them to a USB pen drive or Floppy disk and have them ready.

What i am not going to cover is how you set your system to boot from the dvd in the bios, or other methods of install like creating a bootable USB pen (very cool deployment method) and then also setting the bios to boot from USB. You can find more info on USB booting on the page i use every time i need to do it, here… Method 6 being my preferred option. Of course in Hyper-V we can just use the ISO which is much more convenient.

Edit – A Fellow MVP and Friend of Mine – Tim Barrett has jumped on the bandwagon and posted a great article about how to make a usb boot disc for SBS 2011 check it out here at NoGeekLeftBehind.com

So whatever your chosen media and boot options, let’s put the ‘disc’ and fire up our server.

You will need to press the ANY key to boot from your DVD, if you cant find it, just press ENTER

You’ll see a screen flash through where windows loads files from the media, and then a screen that looks like the Windows 7 start up splash screen (don’t worry you haven’t downloaded the wrong ISO (well you MAY have done, but you’ll see this on both SBS 2011, and Windows 7)

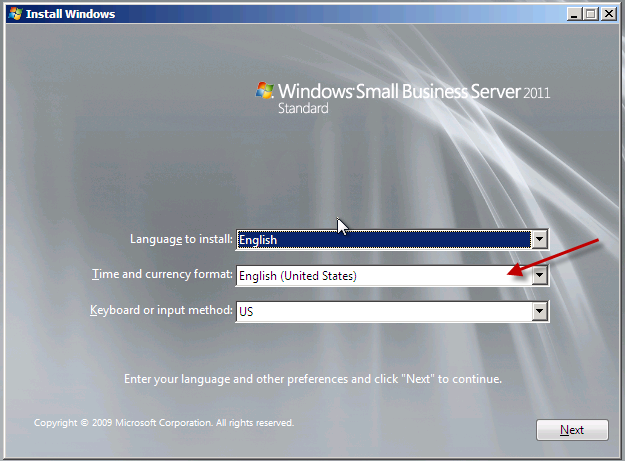
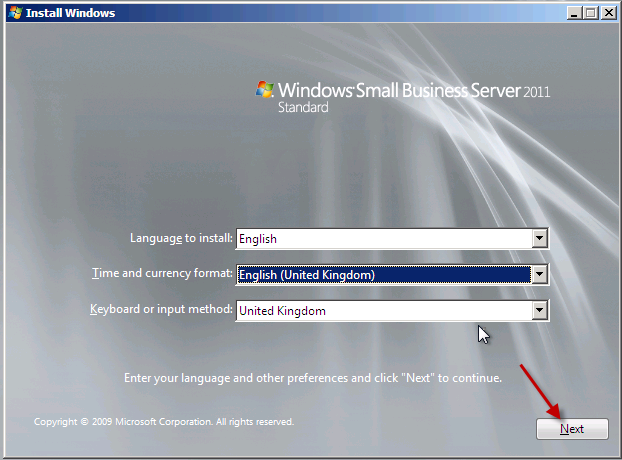
Our first look up at the setup screen will remind a lot of us of the Vista/2008 era setup screens, we will need to choose the installation language, and confirm your selection.

We only have one option now which is to install. You may want to review the ‘what to know before installing windows’ section, now is your chance.

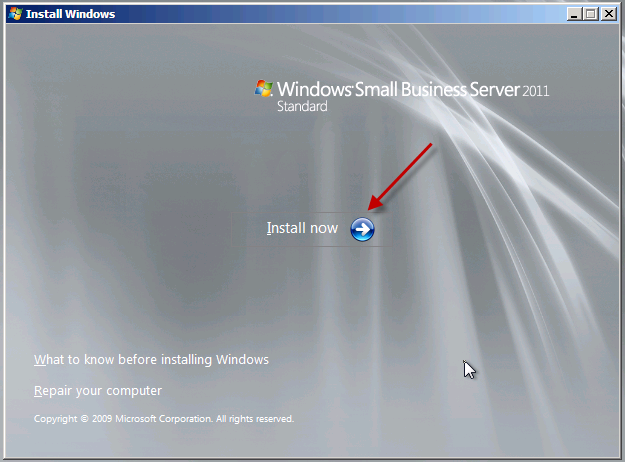
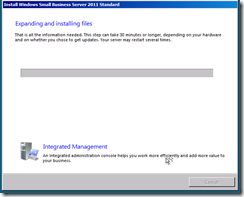
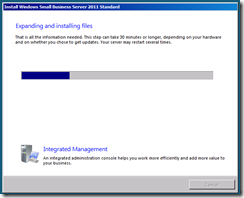
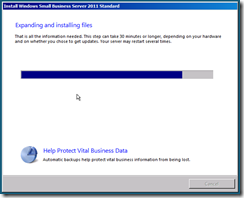
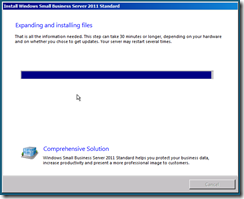
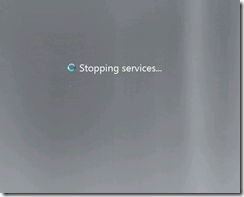
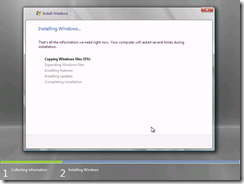
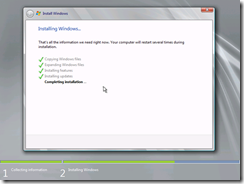
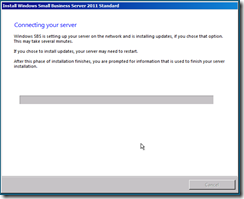
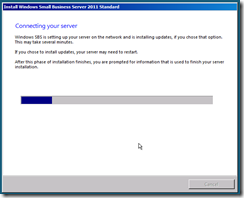
Setup will now begin…

You will need to review and agree to the license agreement. Note – I’m not telling you to agree to it, you need to READ IT and accept the terms for yourself!

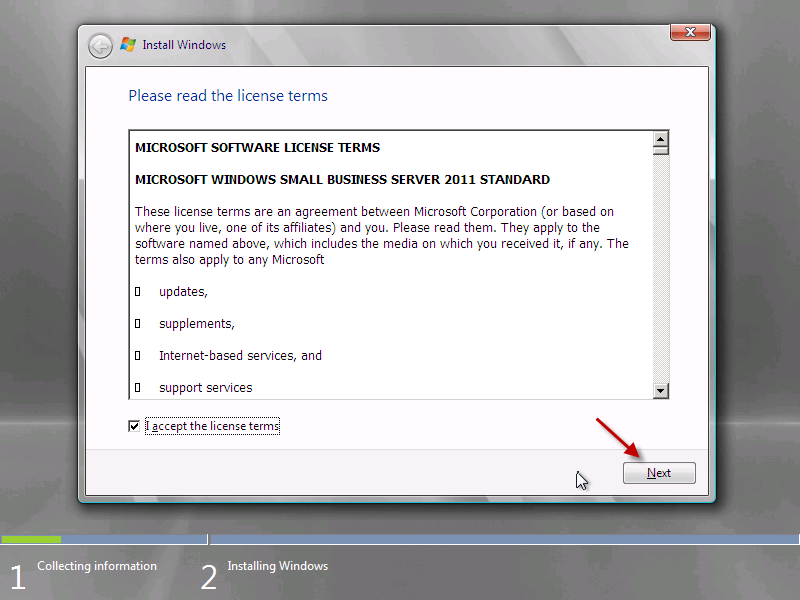
Agreed? Great, lets move on.

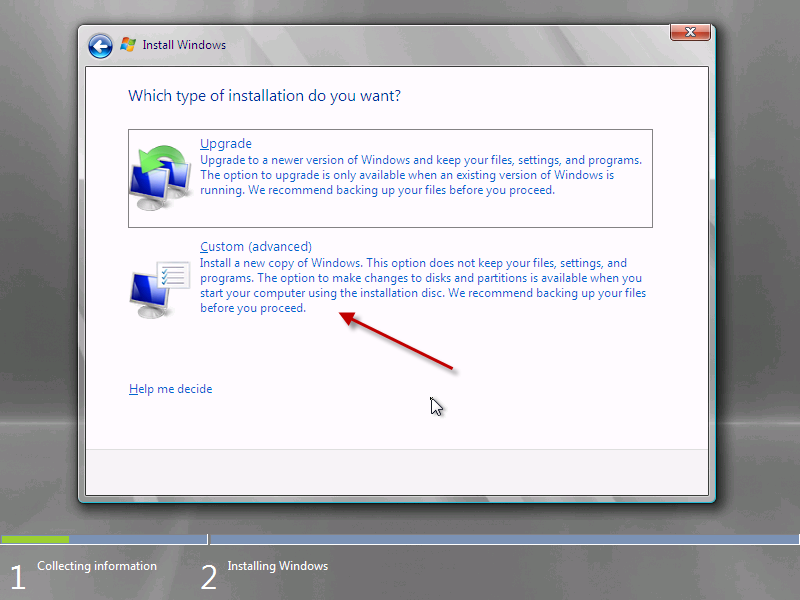
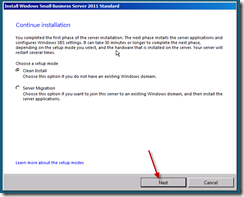
You will need to select whether you want an Upgrade or Custom Install. I haven’t actually tested to see what happens if you click Upgrade – suffice to say an upgrade is not a supported migration path from any version of Windows. I am doing a new clean install, so i am selecting Custom.

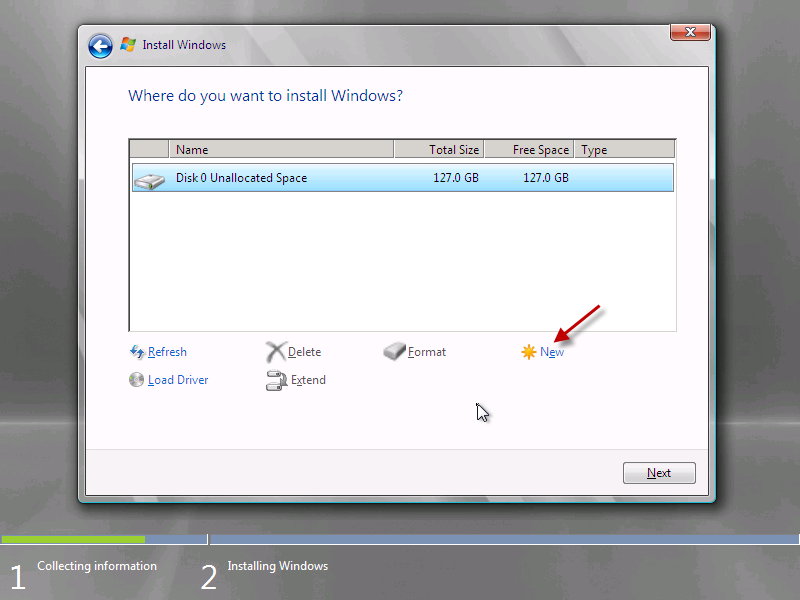
With any luck setup will auto detect your hard drive. Those using a raid controller may need to install controller drivers at this point. 

You can see the load driver option highlighted here, you will just need to browse for the files on your USB drive or floppy disk and install them, once done your disk(s) will appear.

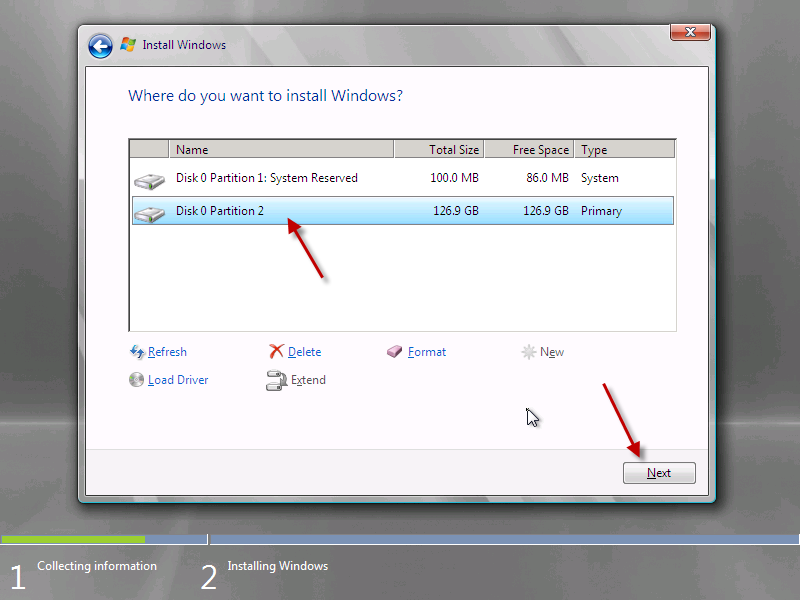
Since i have only one hard drive and i don’t want to do any partitioning, i am going to format this disk and use the full capacity.

Setup will flag up a warning about partitioning the drive, so that all windows features work correctly. This will also partition a small area of disk (about 100mb) that is reserved for use with BitLocker, it also hosts the Boot loader and Windows PE files. 

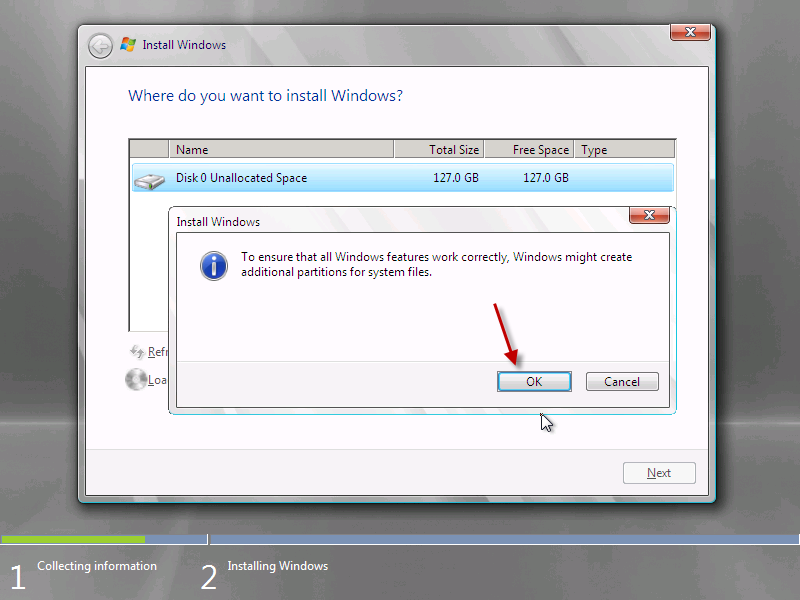
Ok, now that are disk is formatted, we need to move on.

Select the partition you wish you wish to install onto, in my case Disk 0 Partition 2, and click on to Next.

Continued in Part 2

Installing Windows Small Business Server 2011 Standard Part 2

Windows will now copy files from the media to the server, and start to expand the installation files. This process may take a while so sit back and grab yourself a coffee.

Once the files are expanded, the second phase will complete quite quickly, installing features and updates almost in the blink of an eye!

Your server will reboot and setup will continue after this..

You will see the ‘Setup is preparing your computer for first use’ screen for a few minutes..

You will now be presented with the a screen titled ‘Install Windows Small Business Server 2011 Standard’ with the option of whether to perform a clean installation or a server migration. We are performing a clean installation, so leave that selected and click Next to start the configuration process.

The first step of the process is to set the date and time, and verify the time zone settings of the server.

Please make sure to click the Blue text and verify these details.

Once you’re happy with your clock settings, click Next to continue.

The next page is ‘Server Network Configuration’ the server will attempt to automatically detect your local network and give itself an IP address on that network. You can choose to enter your own configuration information instead if you wish.

I have left mine on the default of ‘automatically detect’ and clicked next. When you’re happy with your configuration, click next.

You now have the chance to download updates during the installation process. I have always said no to this. I think Microsoft’s thinking here is good, in that this process should download updates for the installation routine only, fixing any known issues with installations at this point would be a good thing.

However, for a consistent installation process, and to speed the installation up, i choose not to install updates. This is also a view shared by a lot of the other SBS MVP’s so i am not alone. Our advice here may change if a major issue is discovered but for now, click to not get updates.

Click Next to continue.

Setup is now trying to connect to your network, and if you did choose to, will download updates. (Remember if can only download updates if there is valid network configuration information and an internet connection, it isn’t magic)

This process is going to take varying amounts of time, based on the spec, and the choices your entered. Might be time for another coffee?

When you return you will be presented with some familiar screens for those that have worked with SBS before.

Continued in Part 3

on a job well done.

Installing Windows Small Business Server 2011 Standard Part 3

You should now have the Company Information screen, where you can enter business address and contact details.

The personalise your server and network screen, where you choose your Server name and internal Domain name.

This may be the single most important screen you have to configure in the whole installation. This stuff cannot be changed – ever! so take your time and get it right, no second chances or forgiveness for typo’s!

A tip i picked up in the SBS 2008 era, (in this book) was to use a generic name for both the server and the domain. You should have read that book already so i am not going to repeat it, but suffice to say it makes things a lot easier if you ever want to merge with another network.

Server Name : SBSSERVER

Internal Domain Name: SBS

When you’re happy with your choices, hit next.

We now have the ‘Add a network administrator’ page.

As was the case with SBS 2008, the Administrator account is unavailable for use here, so you must choose a new name and password.

Please enter somethng unique, and not to obvious to guess – Admin – for example is a bit of a waste of time. Another tip for you that we employed was to use the initials of our consultancy and that of the clients company, anyway you choose whatever you want, i am choosing Don Funk (thanks to Justin and Wayne for that one )

You’ll also need to enter a strong password. 

Remember this is your Domain Administrator password, it should not be Password1 and it should not be written down and stuck to your monitor!

When you have entered all of this information, Click Next.

You will now see a summary page, this is your chance to confirm and or change anything you are not 100% happy with.

Click Next when you’re ready.

The server will now shutdown and restart, when it boots back up you will have a period of time to wait whilst the server expands and installs the SBS installation. You can choose to sit and wait and read the inspirational messages about how much more efficient your company will be once the install has finished and how the integrated management console will add value to your business, or you can take a break for about 30 minutes and finish that coffee.

Your server will reboot a few times during this period, and with any luck after about 30 minutes you will be presented with a Successful Installation message.

Once your server has finished the installation, you will have several configuration tasks to complete, including configuring the backup, and updating windows adding your users and joining your computers to the domain.

For now, why not congratulate yourself on a job well done.