iPhone Configuration for the SBS Administrator Part 1
January 12, 2011 Leave a comment
EDIT – 28/10/2011 If you just want to know the settings required to connect your iPhone to your SBS Server, look at this post.
If like me, you support a variety of different customers and devices you’re now likely to have one or two, or maybe an army, of people using an iPhone or iPad on the road to pickup their MS Exchange email.
If you are just looking for some assistance setting up an iPhone or iPad with SBS 2011 – Check this Post
I’ve preferred a device that directly syncs to Exchange over a Blackberry since i started working with Blackberry’s 3 or 4 years ago.
As more and more of our customers came to us with iPhones and we talked more and more of them through adding an exchange account i started to think about how this might be achieved a little less painfully.
Sure, we can do this for our users but we like to work remotely, and you don’t really want to have to have physical contact with a device in order to configure it. I found a solution, and what follows is my interpretation on how to implement it*.
Before you begin:
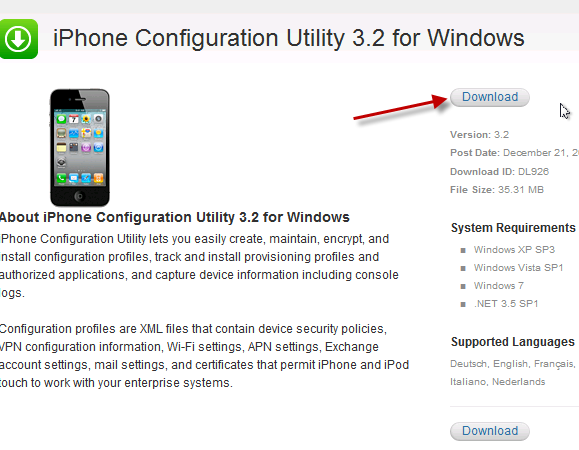
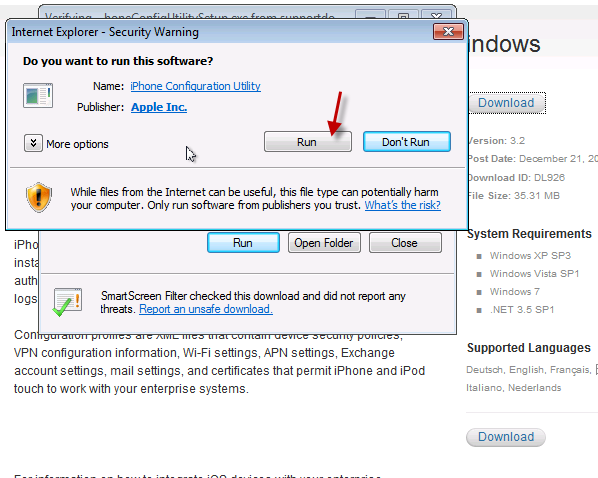
In order to follow this procedure through, you will need to download the iPhone configuration utility here, you will almost certainly want access to an iPhone (Mine is an iPhone 4) you will need access to an SBS server (2003 or newer) with Exchange ActiveSync published to the internet. You will also need a web server to host a file on, preferably in a folder you can password secure.
All set? great.
So lets go ahead an install the iPhone configuration utility, i am using version 3.2.
From the link provided above, click download, choose a location to save your file and away you go.

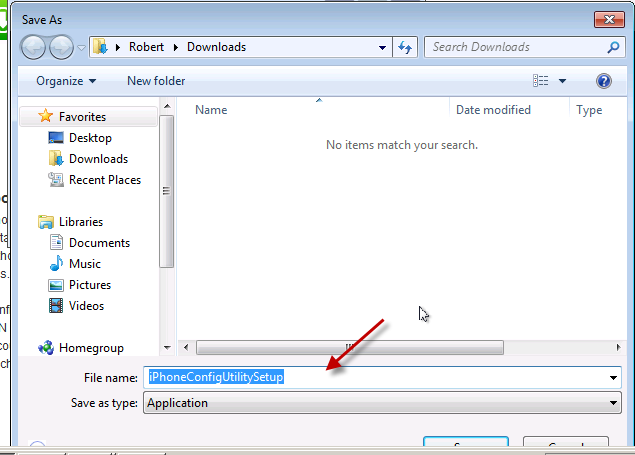
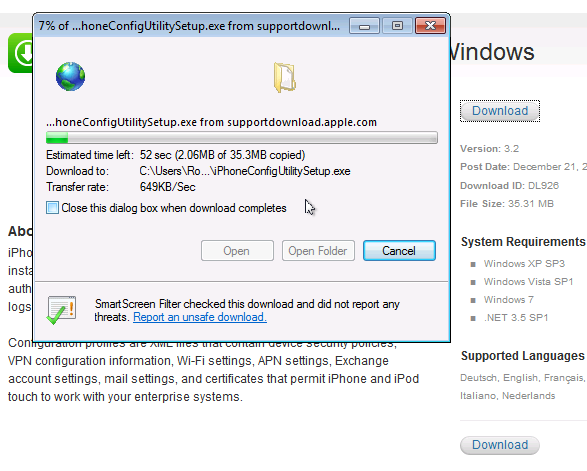
Navigate to your saved file, and run it.
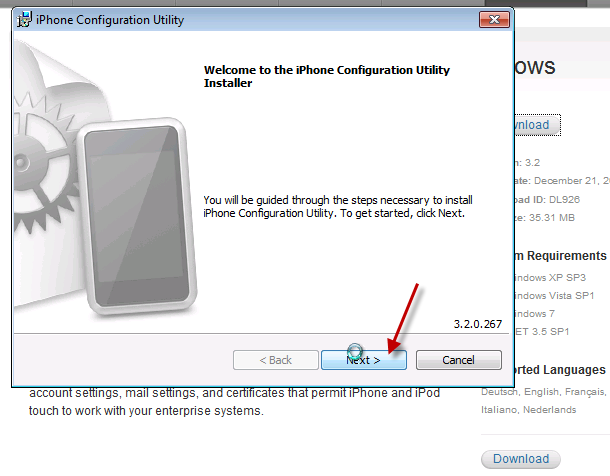
On the welcome to iPhone configuration utility installer page, click Next.
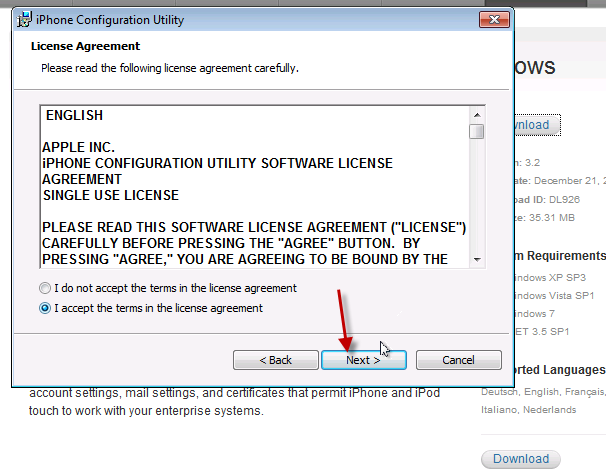
Review the license agreement, and if you agree click to accept the terms, and click Next.

Review the path the program will install to, and click Next.
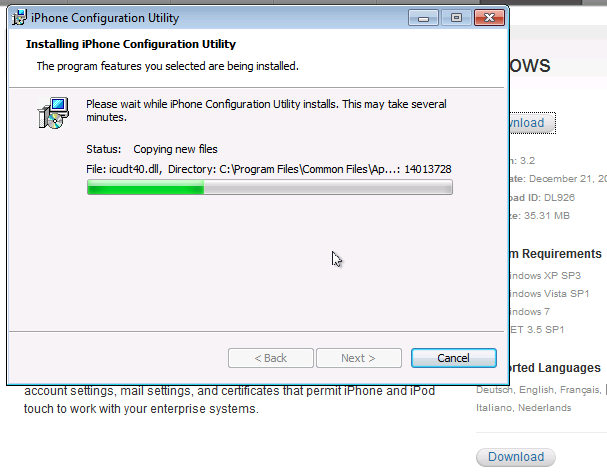
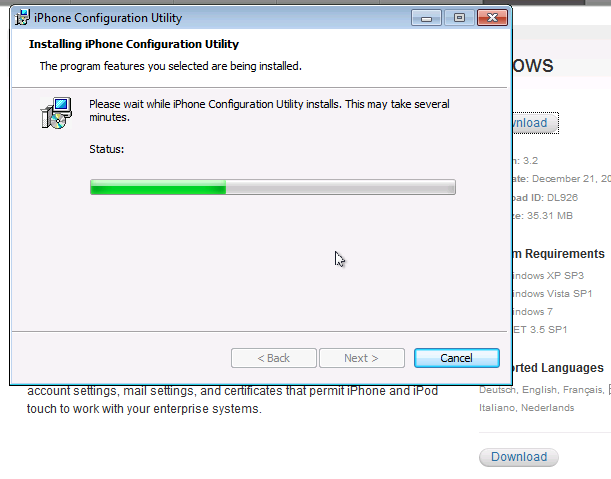
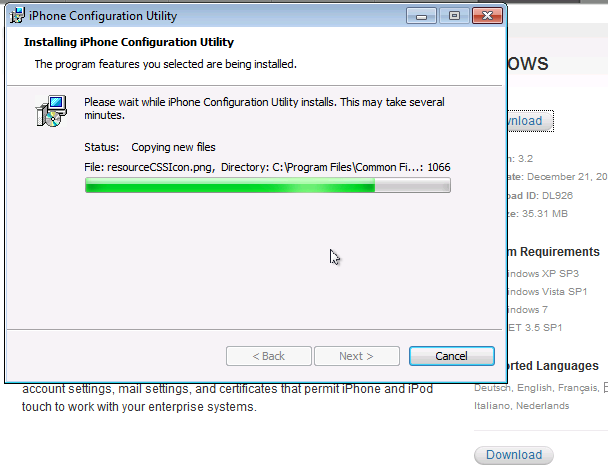
It will take a few minutes for the program to install…
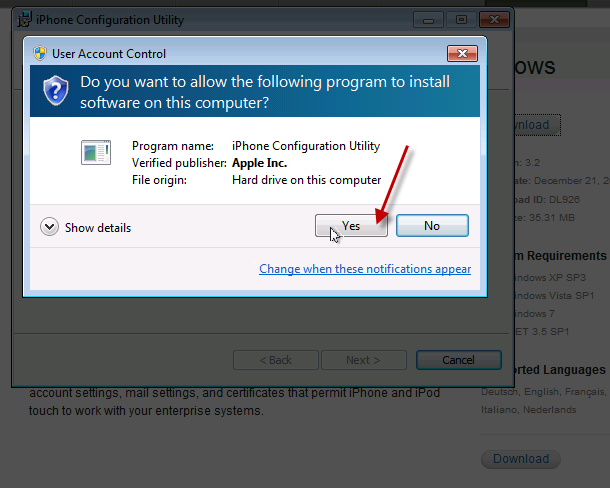
I am installing on Windows 7, so i have several UAC prompts to acknowledge.


Once installed, let’s run our Utility.
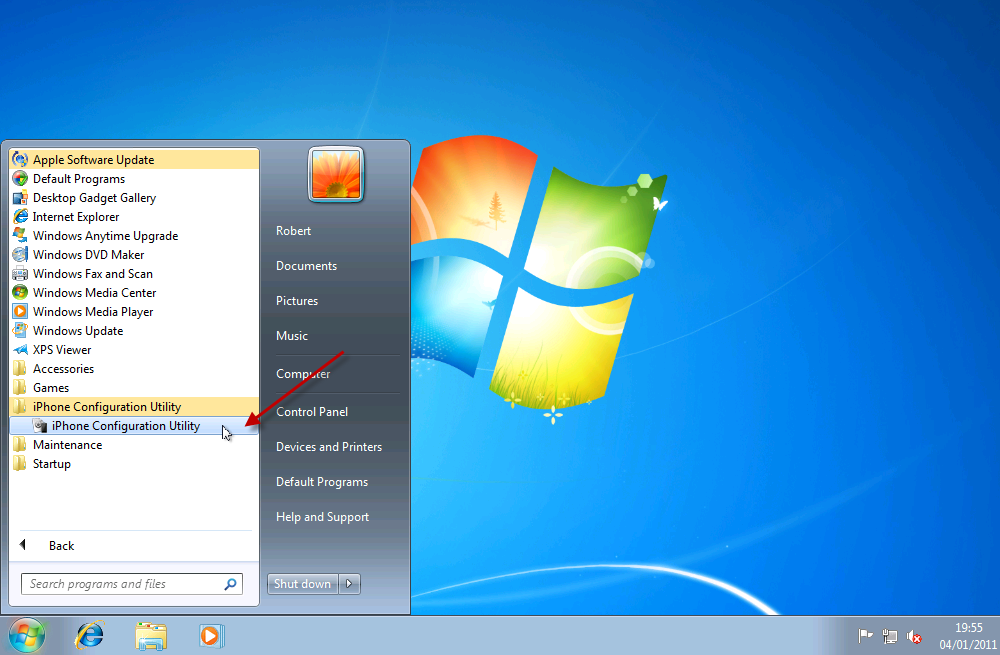
As the program opens up, you will see several areas on the left hand side.
Devices
Applications
Provisioning Profiles
Configuration Profiles
We are only interested in Configuration Profiles in this article.
Click File, and select ‘New Configuration Profile’


A new area will open up on the right hand side.
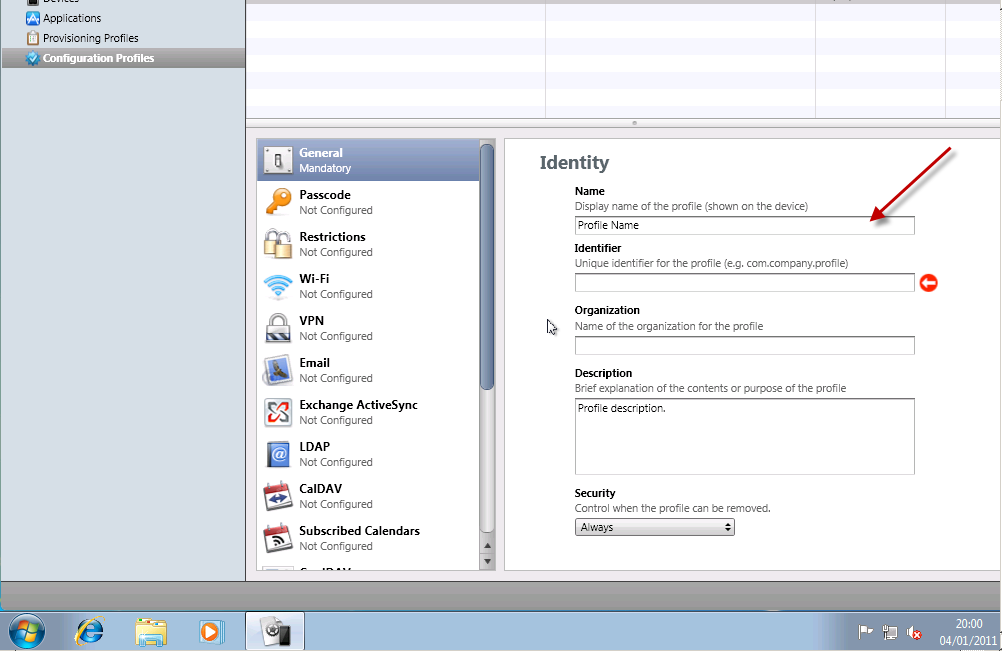
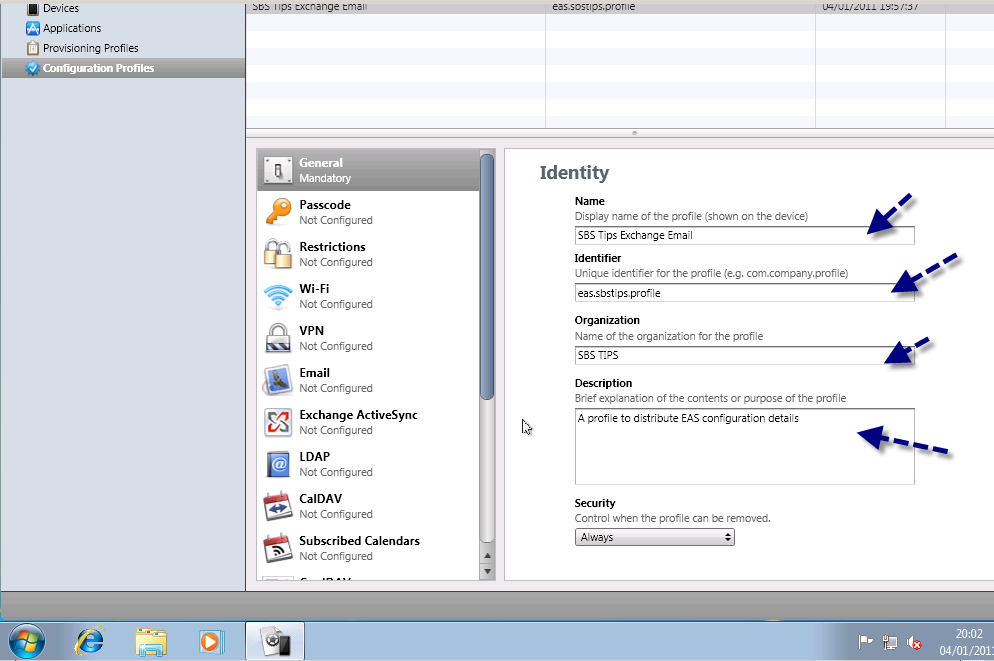
You will need to enter a name for your profile, a unique identifier for this profile, the organization name and a description about what the profile is for.
Name: Quite simply a name you can use to identify this profile.
Unique Identifier – This relates to comparing an already installed profile. So if you have two that match one may update the other. This is a little beyond the scope of what we are trying to achieve here, so i am entering something descriptive, in line with the format suggested.
Organization – Just the name of the company this profile is for.
Description – It’s a description!
Security – Here we can control when the profile can be removed, i like to be a little cautious when working with mobile devices so i leave this so the profile can be always removed.
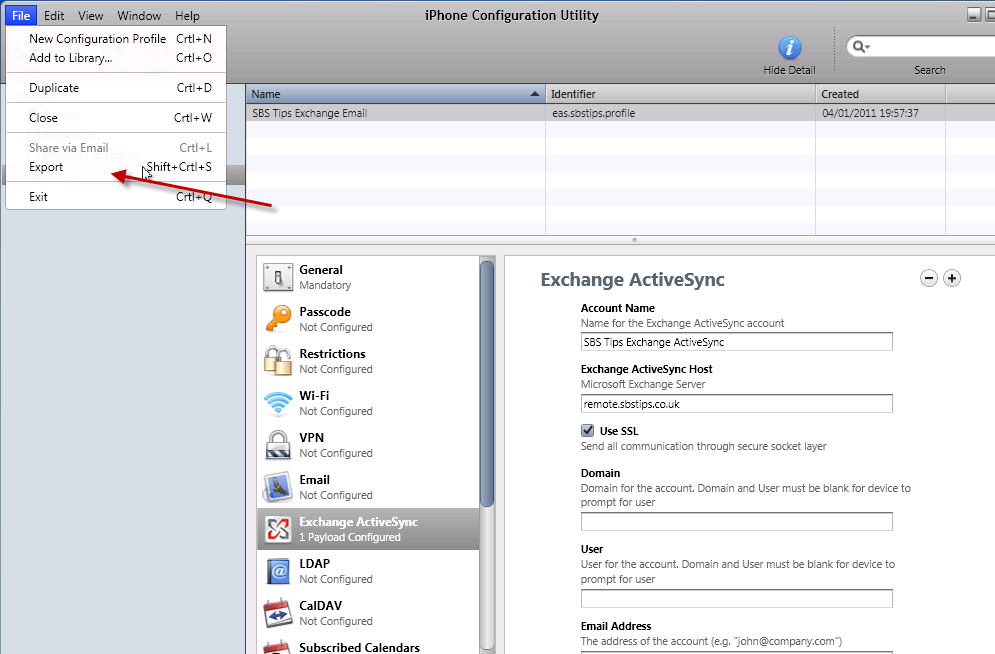
Now with the general settings finished, lets move on to the Exchange settings. In the left hand pane notice the Exchange Active Sync logo, click on this.
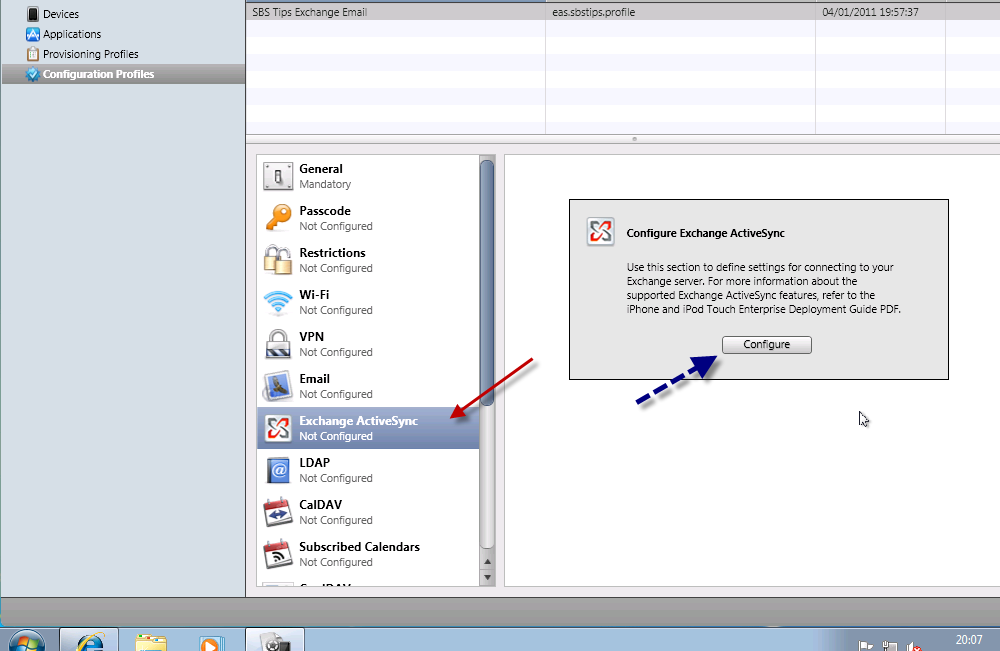
You will see a message about using this section to define settings to connect to Exchange, and also a referral to the a useful PDF guide on using Apple devices with Exchange, this can be found here.
Let’s click on Configure.
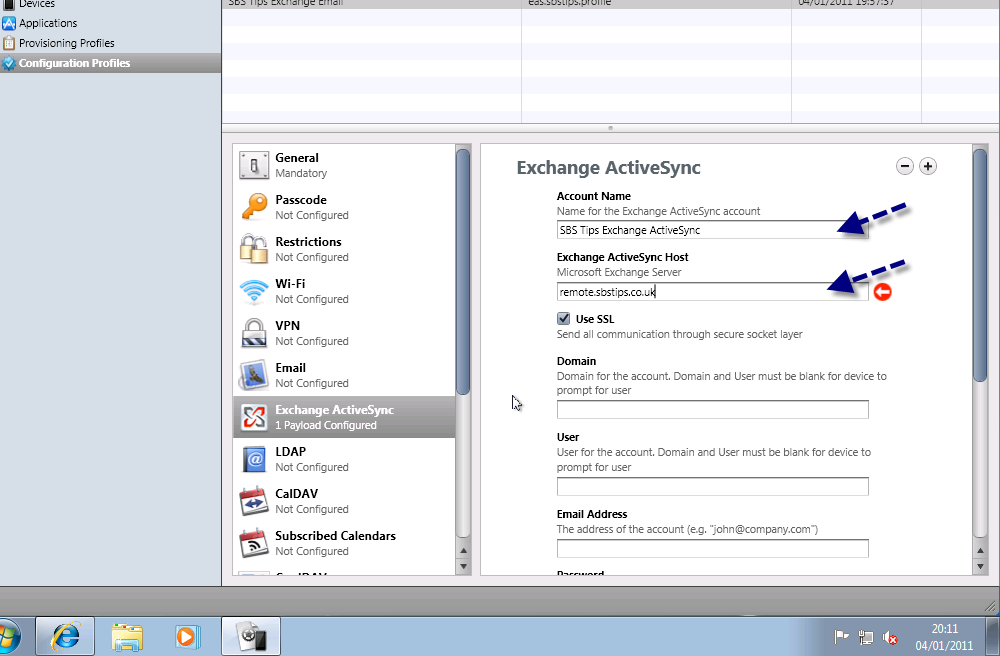
We will need to fill out the information here in order to configure our profile to sync with our server.
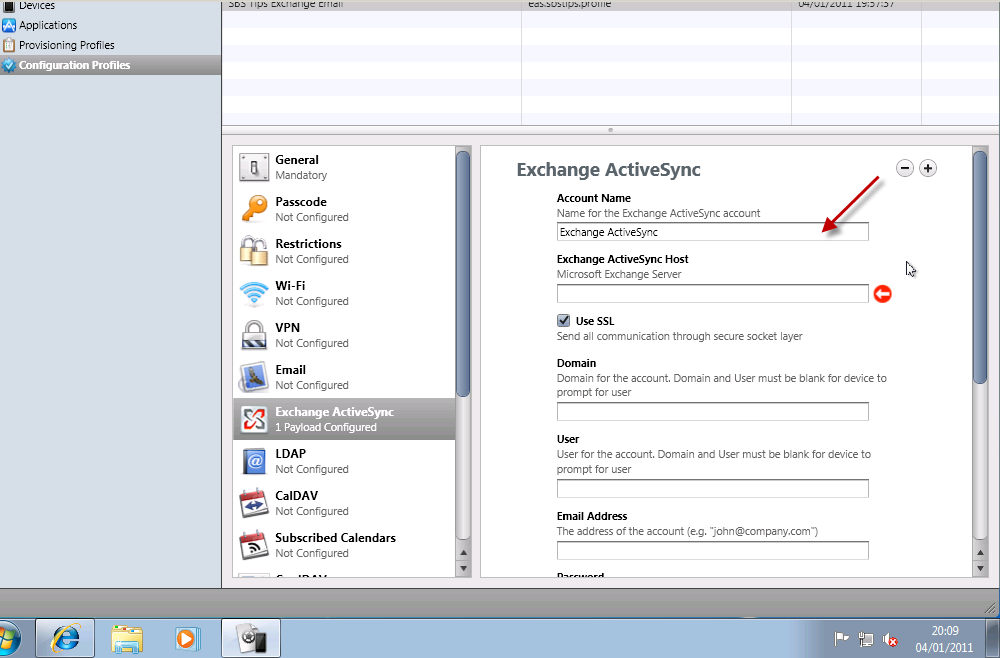
Account Name – The name of the account as seen on the device
Exchange ActiveSync Host – the FQDN of your exchange server (remote.mydomain.com)
Use SSL – by default EAS will function using SSL so i will leave this checked.
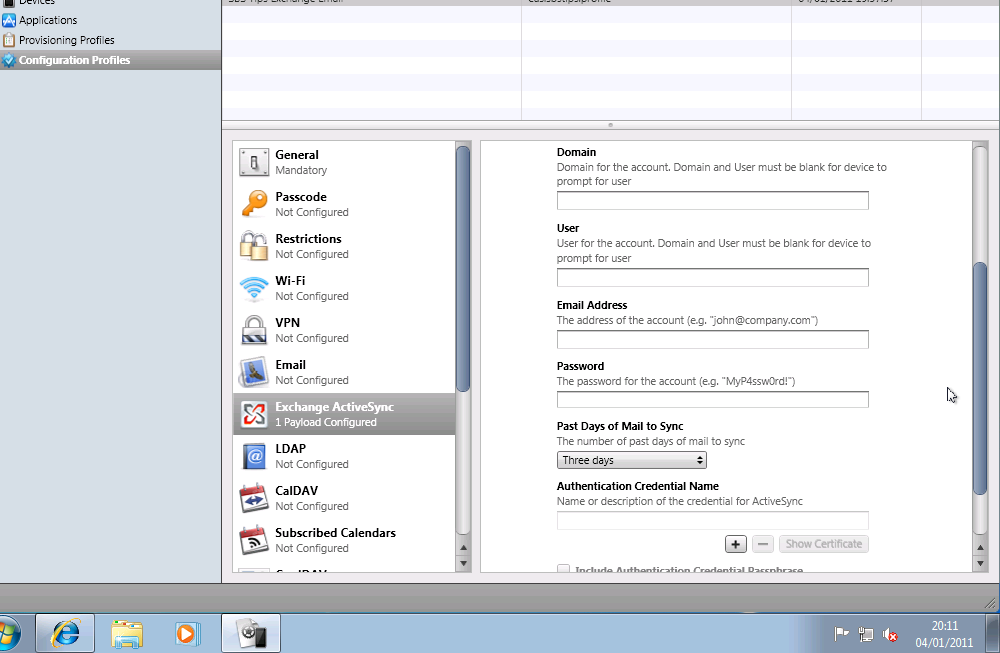
Domain / User / Email Address / Password – These sections will be left blank.
Past days of Mail to Sync – How many days of email to sync by default?
Authentication Credential Name – left blank.
That is our profile configured. Now we need to export it.
Click on File, and on Export.
In the Export Configuration Profile wizard that opens, you have the chance to sign your profile, sign and encrypt a profile for each device, or to choose None.
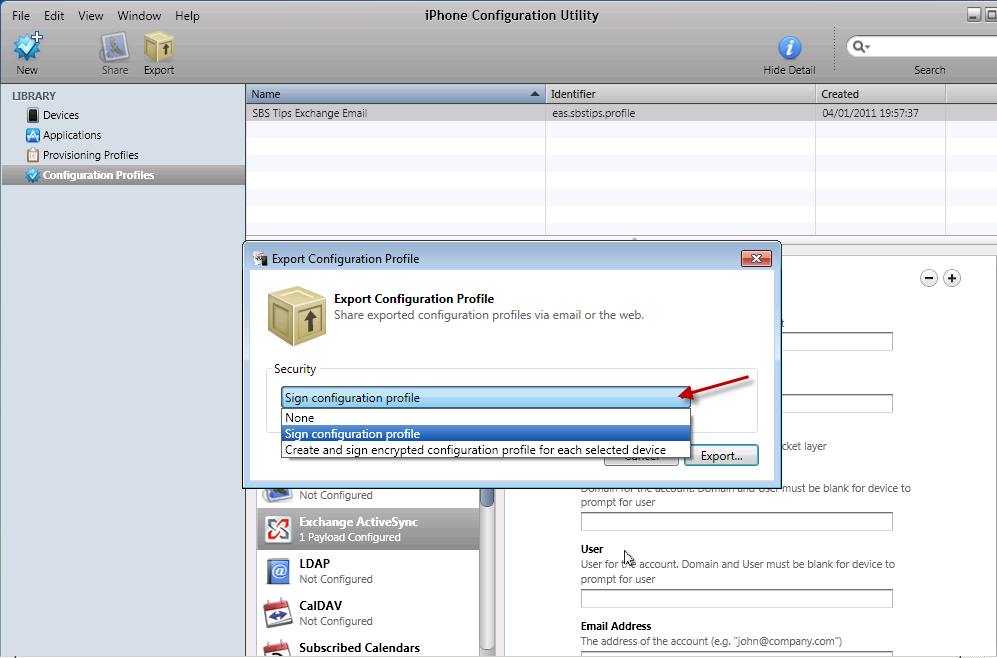
Since i am not an expert in Apple’s configuration utility, and i don’t have a huge budget to work with, i haven’t really explored the options and differences between them here. Suffice to say, Signing the file, and Encrypting the file seem to work well on a per device basis, aside from that the only downside to not signing them is you see that the profile is unsigned on the iPhone. Granted it doesn’t look as pretty but I’m pretty sure no one will notice.
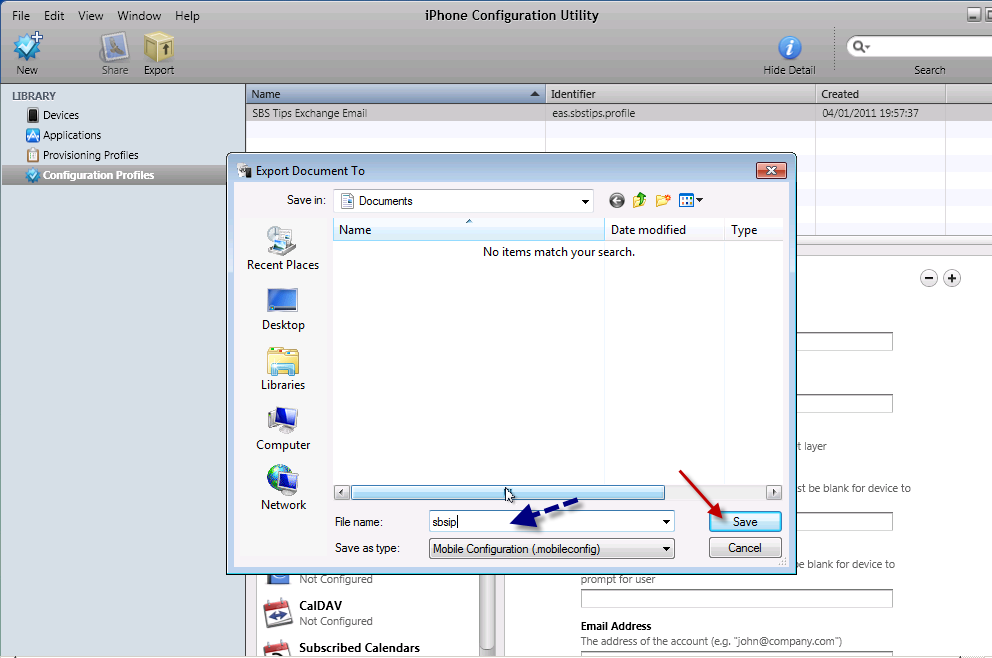
OK, so lets go for the None option for security in the export profile wizard. You will need to enter a name for your file, and then your profile is exported.
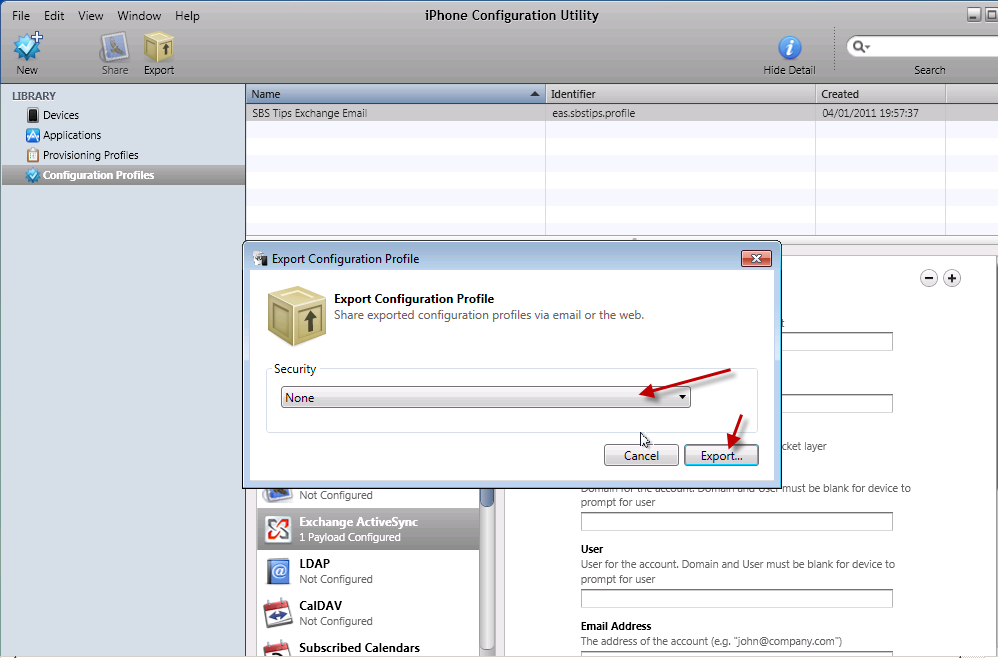
I am calling mine – sbsip – short for sbstips iPhone. You will do well to choose a short name as well, as you will see in a moment. Note the file extension .mobileconfig
We now need to move this to our web server. FTP seems to be the wise choice here, but a word of caution.
Since this file may contain what some deem to be sensitive information in plain text, i would advise you to consider the security implications of uploading this file before you do so. Just because this will make your life a little easier doesn’t mean your client agrees. If you have followed the article to this point, the sensitive information i am referring to is the address of the EAS server.
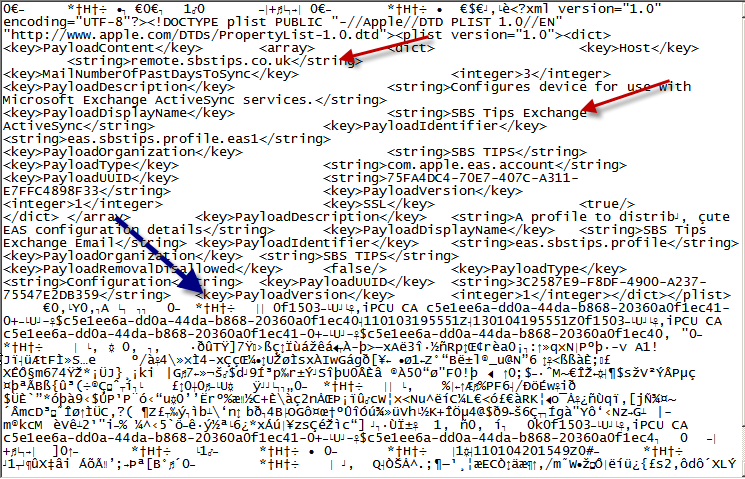
If you open up your .mobileconfig file, you can see it is simple XML and the info is easily readable.

Below is a ‘Signed’ version, so you can see the extra detail here is the addition of a signature, but the information itself is not hidden.
So with that warning heeded, a password protected web folder is my recommendation. Users can follow a link on their device, you can provide them a username and password for this folder, and that grants them access to this file. There are of course other methods of doing this, only uploading the file when it is needed for example could be one, but seems like a lot of effort to me..
Continued in Part 2….
