Installing Windows Small Business Server 2011 Standard Part 2
January 9, 2011 6 Comments
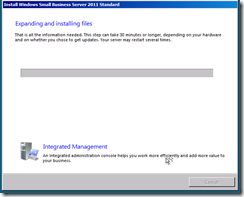
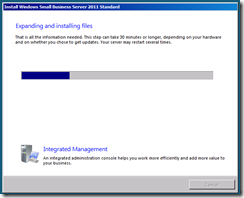
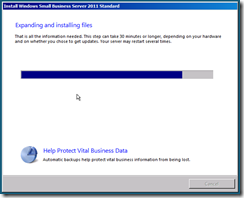
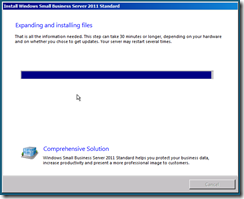
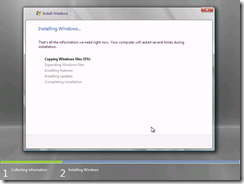
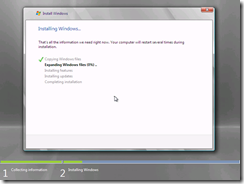
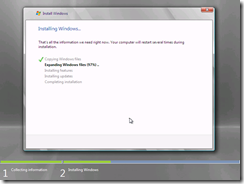
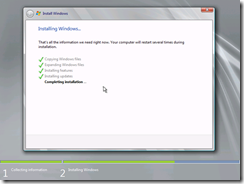
Windows will now copy files from the media to the server, and start to expand the installation files. This process may take a while so sit back and grab yourself a coffee.
Once the files are expanded, the second phase will complete quite quickly, installing features and updates almost in the blink of an eye!
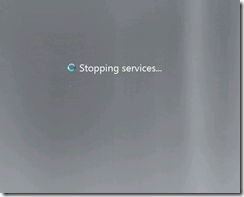
Your server will reboot and setup will continue after this..

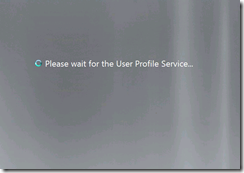
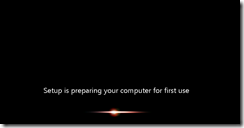
You will see the ‘Setup is preparing your computer for first use’ screen for a few minutes..
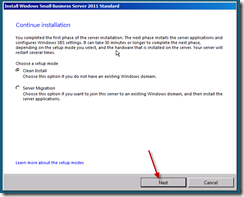
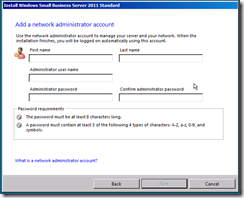
You will now be presented with the a screen titled ‘Install Windows Small Business Server 2011 Standard’ with the option of whether to perform a clean installation or a server migration. We are performing a clean installation, so leave that selected and click Next to start the configuration process.
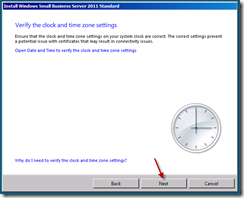
The first step of the process is to set the date and time, and verify the time zone settings of the server.
Please make sure to click the Blue text and verify these details.

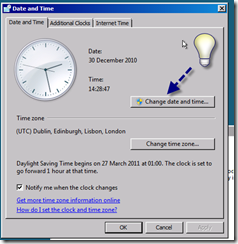
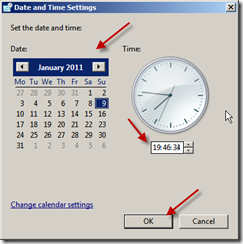
Once you’re happy with your clock settings, click Next to continue.
The next page is ‘Server Network Configuration’ the server will attempt to automatically detect your local network and give itself an IP address on that network. You can choose to enter your own configuration information instead if you wish.
I have left mine on the default of ‘automatically detect’ and clicked next. When you’re happy with your configuration, click next.

You now have the chance to download updates during the installation process. I have always said no to this. I think Microsoft’s thinking here is good, in that this process should download updates for the installation routine only, fixing any known issues with installations at this point would be a good thing.
However, for a consistent installation process, and to speed the installation up, i choose not to install updates. This is also a view shared by a lot of the other SBS MVP’s so i am not alone. Our advice here may change if a major issue is discovered but for now, click to not get updates.

Click Next to continue.
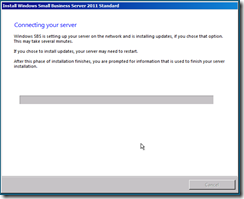
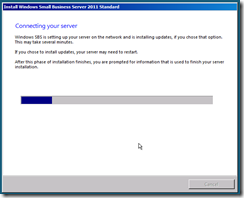
Setup is now trying to connect to your network, and if you did choose to, will download updates. (Remember if can only download updates if there is valid network configuration information and an internet connection, it isn’t magic)
This process is going to take varying amounts of time, based on the spec, and the choices your entered. Might be time for another coffee?
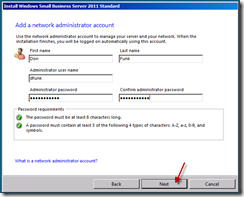
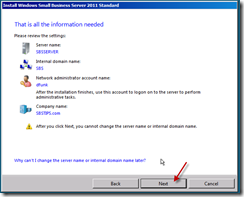
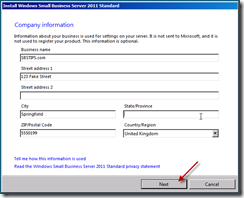
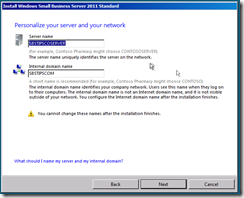
When you return you will be presented with some familiar screens for those that have worked with SBS before.
Continued in Part 3
on a job well done.


.png?download&psid=1) )
)