Installing IPCOP as a HYPER-V Guest – Part 1
December 20, 2010 Leave a comment
As part of my lab setup, i wanted to allow my guest operating systems (such as SBS 2003 / SBS 2008) to act as close to ‘real life’ as possible.
What i mean by this is i want them to be separated completely from the rest of my home network, and as such, be able to run DHCP and other services without conflicting with my router.
Now, some of you Hyper-V experts will probably say – oh well you could just do X and then it will work fine. Well, that is fine for you, but as i don’t know what X is – i have chosen this option, as recommended by a very good teacher.
So the solution proposed by said teacher, was to download and run IPCOP as a Nat device, bridging the gap between the virtual machines and the physical network.
What do you need?
A machine running Hyper-V (obviously)
The IPCOP ISO (here)
You may want to review the system requirements of IPCOP here
A Private Network configured in Hyper-V and an External Network (more on that here)
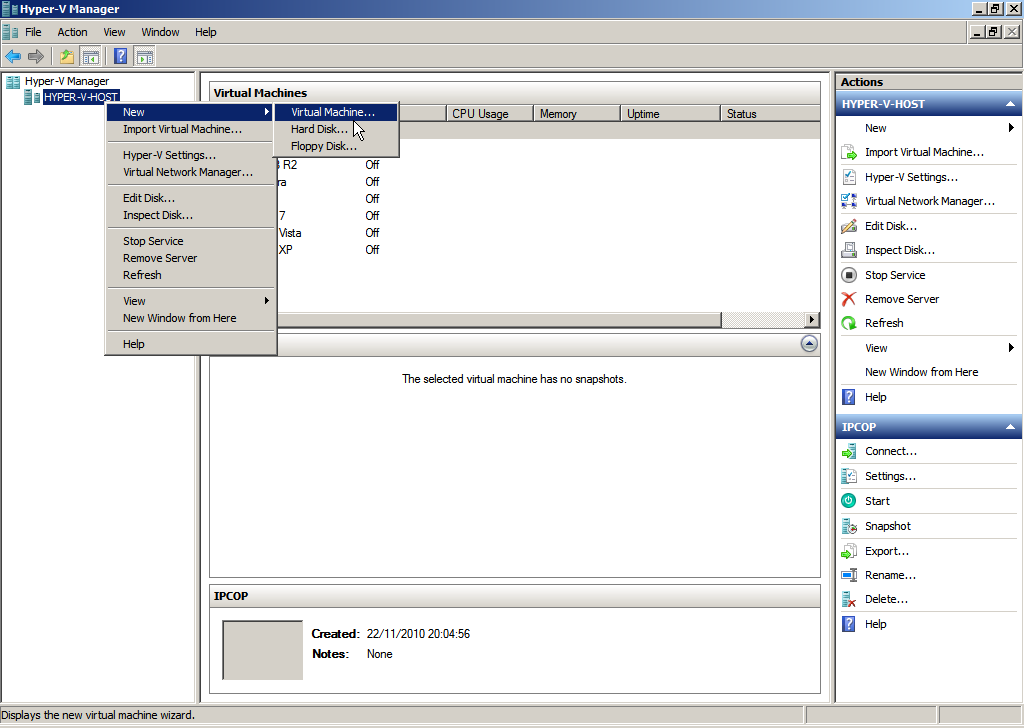
So, once you have done that you need to setup your Hyper-V guest.
Open up the Hyper-V manager, right click the name of your Hyper-V host, and click New, Virtual Machine.
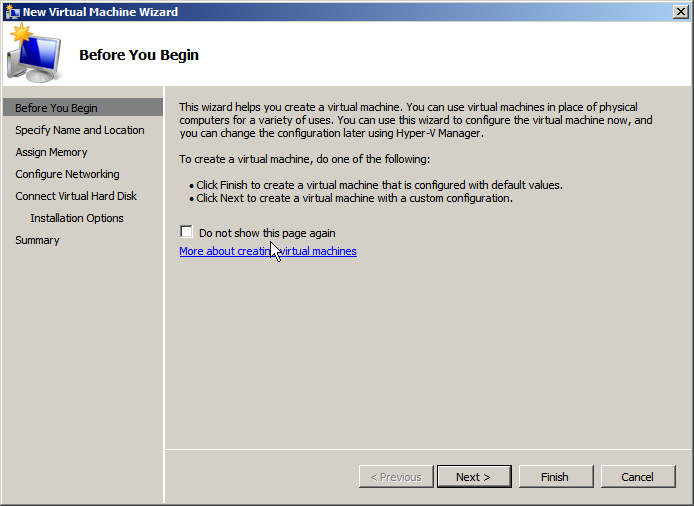
The New Virtual Machine wizard will start.
If this is the first VM (Virtual Machine / Hyper-V Guest) you are creating, you may want to review this page, even if it isn’t it may be a reminder on some points, when your ready hit next.
So, we need to choose a name for our Guest, and choose the location to store it, if not the default.
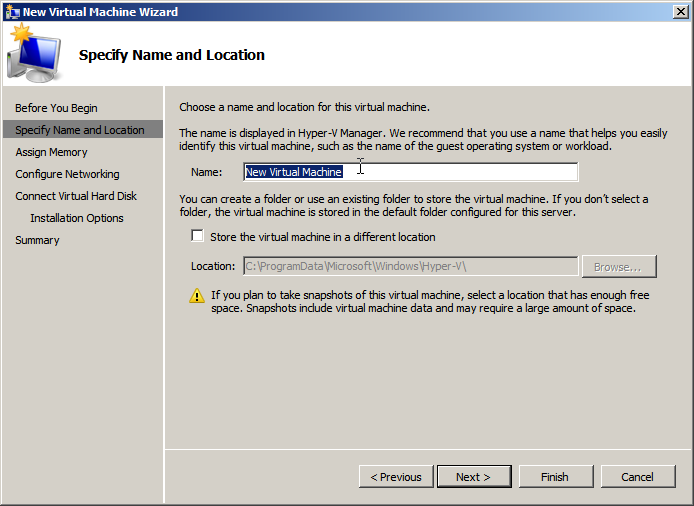
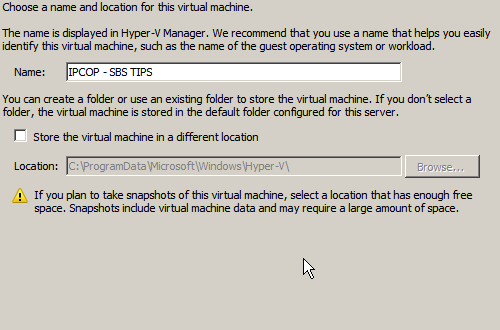
When your ready hit next.
You will need to enter the amount of RAM you are giving the IPCOP system, my test box currently has 1gb (which i did to make the install a bit quicker, but i plan to run it on 512mb)
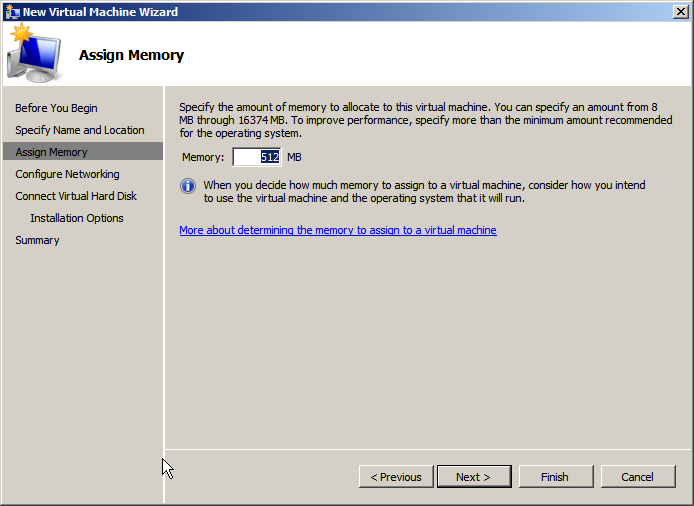
When your ready hit next.
IPCOP does not support the use of the Hyper-V synthetic network adapter (more on that here) so leave this set as ‘not connected’
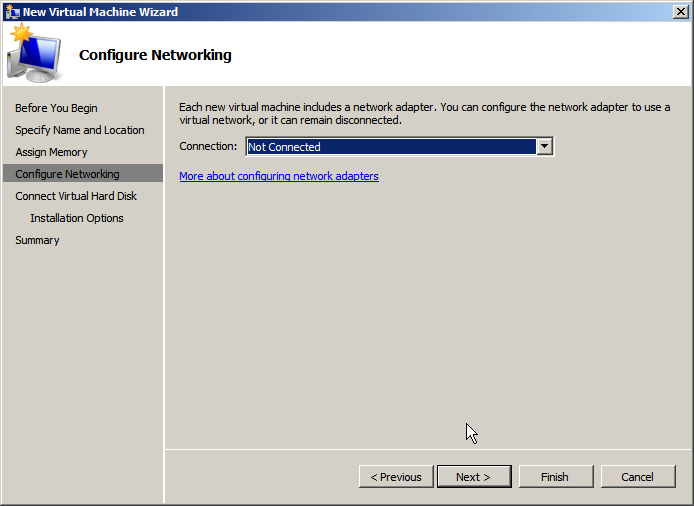
When your ready hit next.
The next page will allow you to setup your VHD (Virtual Hard Disk) files. I am new to Hyper-V so i have tended to accept the defaults when setting things up, your choices here are quite simple – add a new disk, add an existing disk, or add a disk later.
I have chosen to add a new disk, and set it as 127gb in size. This is what is known as a Dynamically Expanding disk, (more on those here) you also can specify where to store the disk.
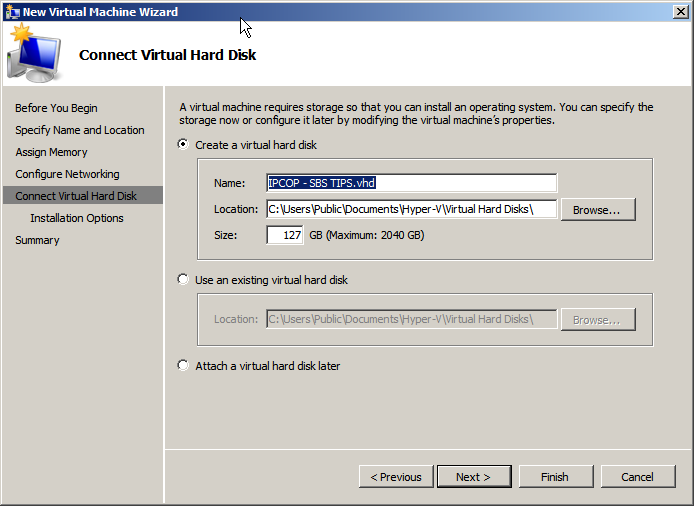
When your ready hit next.
Now you can choose the OS options, you can go ahead and tell it the location of the .iso file if you wish, choose install an operating system from a boot cd/dvd, choose image file and the option for iso will become active, and you can simply browse to the location of the file.
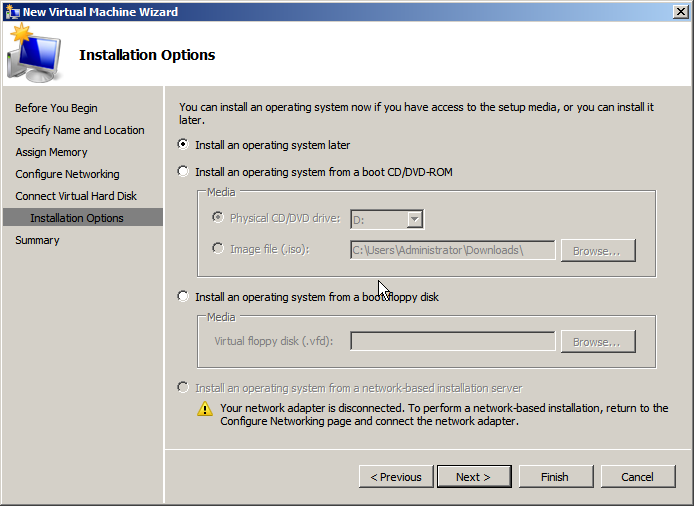
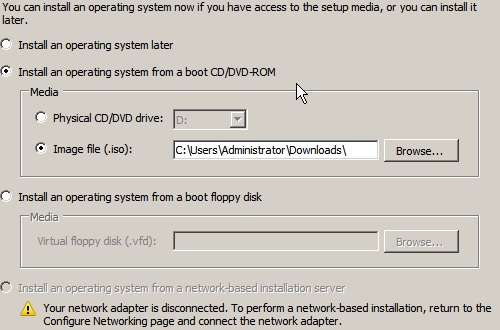

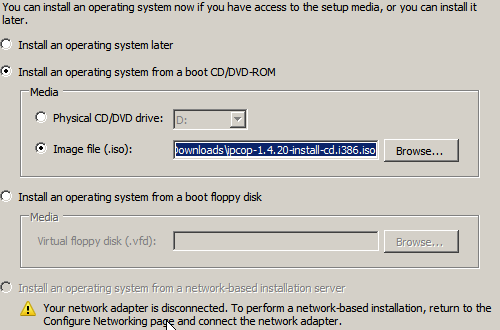
When you’re ready hit next.
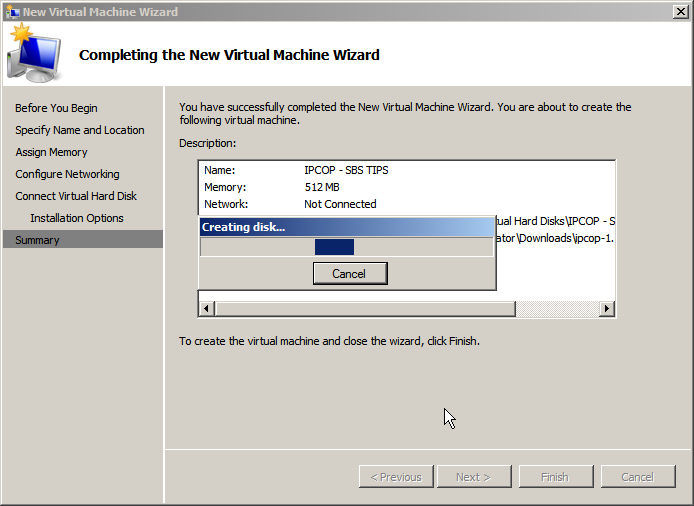
Summary page – you can review the settings we have covered and hit finish when you’re happy.
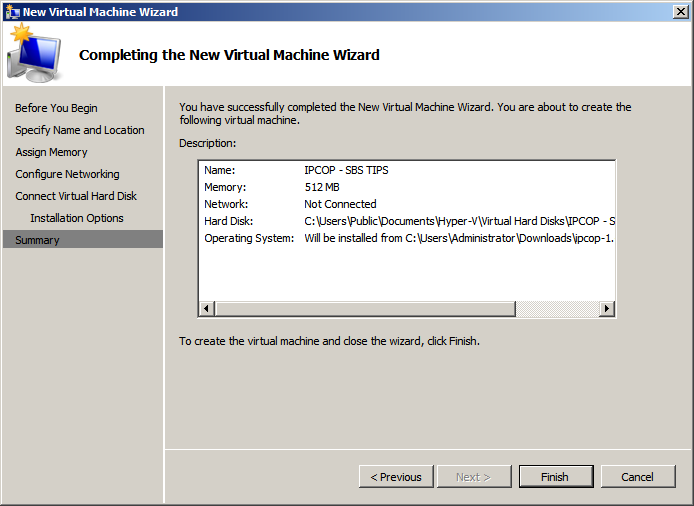
Your machine will be created, and you will then see it listed as a VM in your Hyper-V manager console.
I have had to split this article into 3 parts due to Spaces blog entry size limits.
