Quick Fix: Command Prompt Here
May 1, 2011 Leave a comment
Just posting a link through to a post i put on Spiceworks a few months ago..
Windows Power Essentials Tips & Tricks
May 1, 2011 Leave a comment
Just posting a link through to a post i put on Spiceworks a few months ago..
January 23, 2011 8 Comments
The small business IT consultant may overlook one or two details day to day that our enterprise level counterparts have teams of people devoted to checking day in day out…
Checking the security log of your clients servers however, should be a task you do not overlook. Ever.
We may employ the use of monitoring software to help us, for example we manage somewhere in the region of 200+ servers for our client base, and with a small team it would not be possible to keep track of, or check, every single log file every single day.
Our current monitoring software is provided by GFI, formerly HoundDog and now part of the GFI MAX offering. I mention this only to set the scene, Friday morning, a hacker check fails at a client site.. not in itself an odd occurrence (hacker check will poll for X amount of failed logons in a given time) today was different.
Some 30,000 failed logons. Hmm I think i better check that out.
As it happens this occurred on a clients Exchange server, which led me astray for a while.
It is quite common to see multiple failed logon attempts on an SMTP server that is public facing (you may see botnets attempt to authenticate to send their spam when a server is not an open relay), most of the time these can be safely ignored, but i do take action for repeated attempts – 30,000 counts as repeated ;o)
So this client has their email delivered directly to the server by smtp, not filtered before arriving at the server, as some do. These services are becoming more popular, like Mail Labs, or Trend Micro’s IMHS which can help to secure a server because you can close your firewall and accept mail connections (smtp, tcp port 25) from only your partners servers.
Not using these services can make things more tricky when facing this type of problem because you can only act after the fact, and potentially that could be too late.
So as i say i receive an email alert about 30,000 failed logon attempts, my immediate thoughts are – SMTP relay attempts. I logon to the server and check the security log, and sure enough it is full of failures. All with predictable enough usernames, Admin, Administrator, Adrian, clearly the start of a long script of potential names.
Immediately i set about trying to ascertain if that attack is still in progress.
Switching to a CMD prompt, i run a NETSTAT –F command, the –F will show me the full FQDN of connected machines, rather than a shortened version. I look for current SMTP connections, and don’t see any that look suspicious, but the log is still filling up.
Let’s try and slow them down at least..
Next i think about Exchange 2007 and it’s ability to help protect from this type of attack. I wonder if Tarpitting is enabled.
Switch to the Exchange shell and i run,
Get-ReceiveConnector |Select name, tarpitinterval
This command will list all of our receive connectors, show the name and their tarpit interval.
The default on Exchange 2007 is that all connectors are set at 5 seconds, more on that here this was obviously not high enough so i wanted to increase it (looking back this could have led me to the actual solution a little quicker but i was a bit blinkered here)
So let’s ramp this up to 15 seconds i said.
Set-ReceiveConnector “Receive Connector Name” -tarpitinterval 00:00:15
Now to test. I set up an Outlook profile to try and relay some email, and hit send a bunch of times.
Hmm, my attempts are not showing up and the log is still filling up. What next?
Perhaps it is not SMTP relay after all i muse, perhaps it is an RDP or OWA attack?
On this server RDP is available by a non default port, not a best practice but something forced upon us in this case (don’t get me started on that)
I try a few quick attempts with false passwords, again, they don’t show up.
Switching to OWA, i try the same thing – no change, i don’t even see my attempts hit the log.
I switch back to my NETSTAT and rerun it.
Something in the back of my mind from the first run leaped forward – FTP!
Luckily i had dumped the output of the first NETSTAT to notepad, and i could see that yes, the same client connected by FTP was still connected.
This company require FTP services, so not wishing to disrupt them, i switched to my FTP Client and tried a few false passwords. Sure enough they showed up in the log – identical to the others.
Bingo.
Stopping the FTP site, i use tracert on the offending IP and also a WHOIS by IP.
Now i know who they are, or at least where they are and i can set about blocking their access.
Switching back to the server I open up the windows firewall properties, and add a new rule to block connections from the identified IP address. I confirm the IP from my NETSTAT window, and confirm that my rule will DENY them access.
I restart the FTP service, and attempt to connect my FTP client. It is successful, i switch back to the security log and i can see that the failures have now stopped.
How to add a new Deny entry to Windows Firewall
Under Windows Firewall, With Advanced Security, Right click on Inbound Rules, click New Rule.

On the new rule page, choose the type of rule you would like to create, Since it is FTP i want to block i choose a port rule. Click Next.

I want to use TCP and specify port 21. Click Next.


I want to Block the connection. Click Next.

I want this to apply to all profiles, Click Next.

Enter a Name for the rule, and if you want to, a Description (it might help others identify why the rule was created)

Click Finish when you’re happy with the naming.
You will now see your rule is top of the list. But wait, if we leave things as they are ALL FTP connections will be denied.. We need to be more specific.

Right click your new rule, and click Properties.

Go to the Scope tab.

Under ‘Remote IP Address ’ Click ‘These IP Addresses’

Click Add. Enter the IP address you would like to block, or alternatively an entire range. (If you find out which ISP an IP Address belongs to you can block their entire IP allocation, this may be useful if your attacker is on a dynamic IP)


Click OK when you’re done, and click OK to confirm.
You will need to monitor the security log to ensure no more attacks take place, but you can be pleased that it will be a great deal harder for this guy to attempt to logon to your services again!
January 17, 2011 Leave a comment
Trend Micro have released a free eBook for download – get your copy here:
http://uk.trendmicro.com/uk/dummies/?id=home
January 12, 2011 Leave a comment
I will assume you have uploaded the mobileconfig file using your favourite FTP Client, now we can switch to our iPhone.
Open up Safari and navigate to your file.
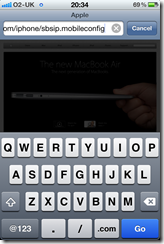
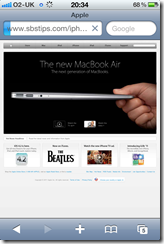
If you receive an error about the profile not being able to be installed – check your navigating to the correct link.
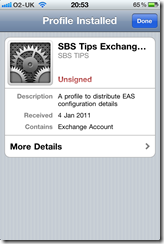
You will be presented with a screen detailing what the profile is for, and there is an option to click on to Install.
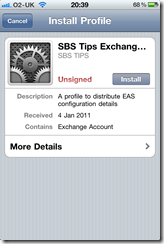
If you click install, you get a message appear on the screen about installing an unsigned profile, and a notification to say it will change settings on the phone. You have the choice to install or cancel.
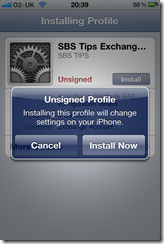
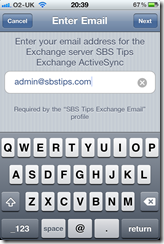
Clicking Install Now, will start the wizard based installation. Enter your email address, and click Next.
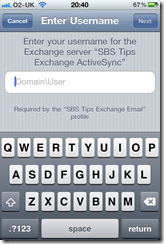
Enter your username, including your internal domain name in the format domain\username and click next.

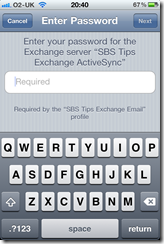
Enter your password, and click next.

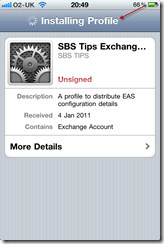
You will see the phone is installing your profile
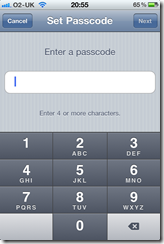
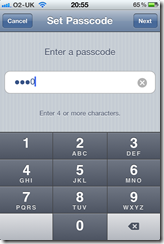
Depending on your Exchange server security settings, you may have to enable a PIN code on your phone, now is the time you will be prompted to enter a code. This PIN will be used to lock your phone after periods of inactivity – like any normal PIN used on a phone.
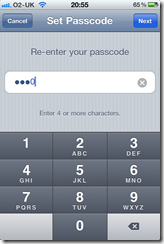
You will be asked to confirm your code, and then you will be shown a screen that says the profile has been installed.
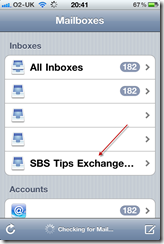
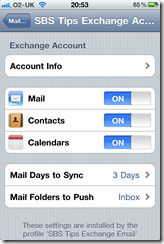
If you then close Safari and go to Settings, Mail, Contacts and Calendars, you will see your Exchange account listed, like any other would be and from here you can see which options have been configured by your profile.
So that concludes the process of using the iPhone configuration utility to help configure your iPhones.
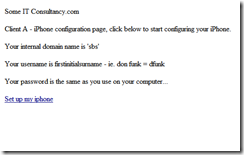
* So now that you have followed this through you might be wondering why this is any easier than talking a user through this process? My idea for this process is for an IT Consultant to have a folder per client on his or her website, imagine :
http://www.someconsultancy.com/iPhones/clienta/iphone.mobil…
http://www.someconsultancy.com/iPhones/clientb/iphone.mobil…
So you client calls you up and says, “hey i have a new iPhone, and i need my email” or hopefully ahead of time they let you know they have an iPhone coming, you can make sure they have the link to their .mobileconfig file either by SMS to their phone, or email to their client computer where they can copy it down.
I see the benefit here that you may even be able to delegate this off to your onsite contact who doesn’t then need to know all the in’s and outs of configuring the iPhone just that they go to xyz link and follow the wizard.
Of course you could have a password protected folder for each customer on a webserver, that has a page with a hyperlink in it rather than the full URL..
January 12, 2011 Leave a comment
EDIT – 28/10/2011 If you just want to know the settings required to connect your iPhone to your SBS Server, look at this post.
If like me, you support a variety of different customers and devices you’re now likely to have one or two, or maybe an army, of people using an iPhone or iPad on the road to pickup their MS Exchange email.
If you are just looking for some assistance setting up an iPhone or iPad with SBS 2011 – Check this Post
I’ve preferred a device that directly syncs to Exchange over a Blackberry since i started working with Blackberry’s 3 or 4 years ago.
As more and more of our customers came to us with iPhones and we talked more and more of them through adding an exchange account i started to think about how this might be achieved a little less painfully.
Sure, we can do this for our users but we like to work remotely, and you don’t really want to have to have physical contact with a device in order to configure it. I found a solution, and what follows is my interpretation on how to implement it*.
Before you begin:
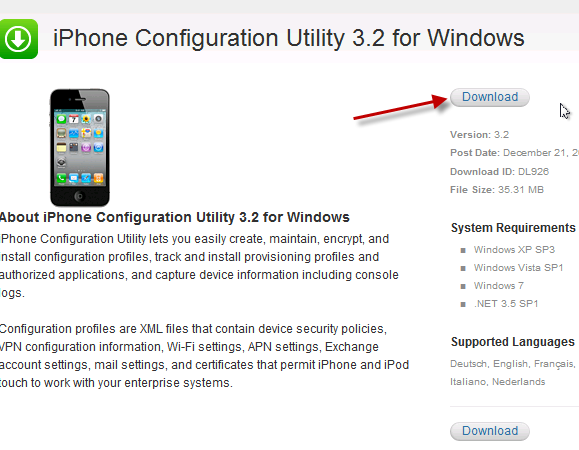
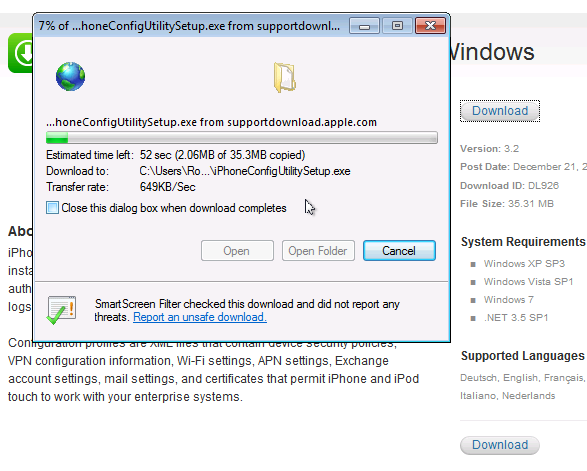
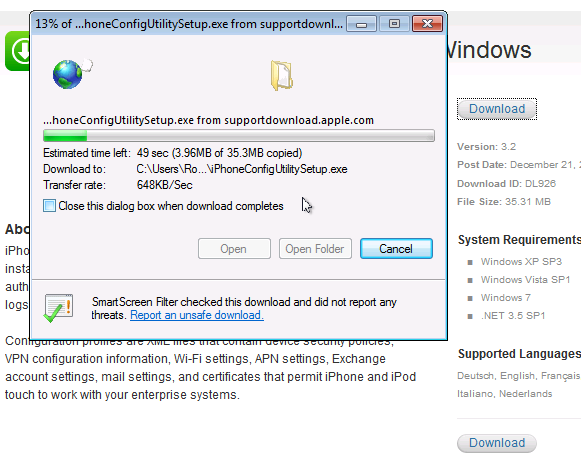
In order to follow this procedure through, you will need to download the iPhone configuration utility here, you will almost certainly want access to an iPhone (Mine is an iPhone 4) you will need access to an SBS server (2003 or newer) with Exchange ActiveSync published to the internet. You will also need a web server to host a file on, preferably in a folder you can password secure.
All set? great.
So lets go ahead an install the iPhone configuration utility, i am using version 3.2.
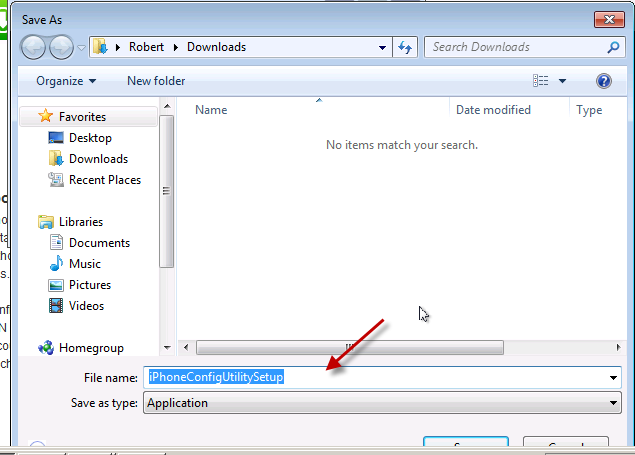
From the link provided above, click download, choose a location to save your file and away you go.

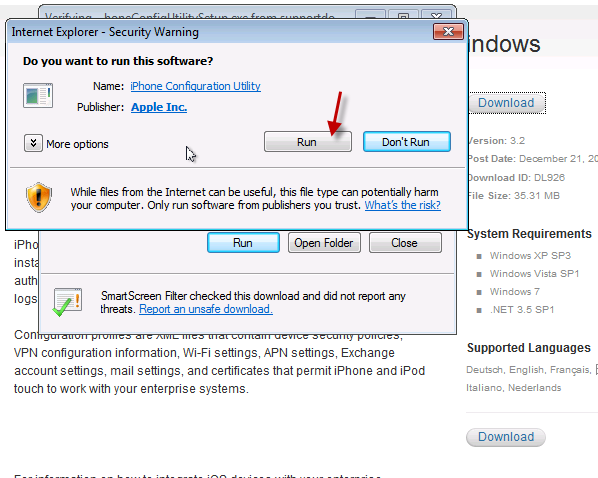
Navigate to your saved file, and run it.
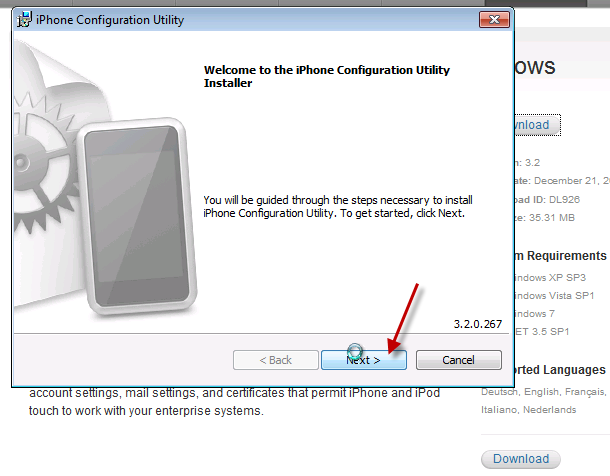
On the welcome to iPhone configuration utility installer page, click Next.
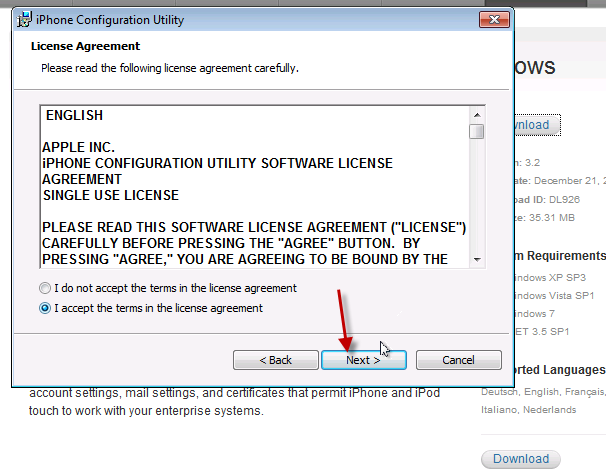
Review the license agreement, and if you agree click to accept the terms, and click Next.

Review the path the program will install to, and click Next.
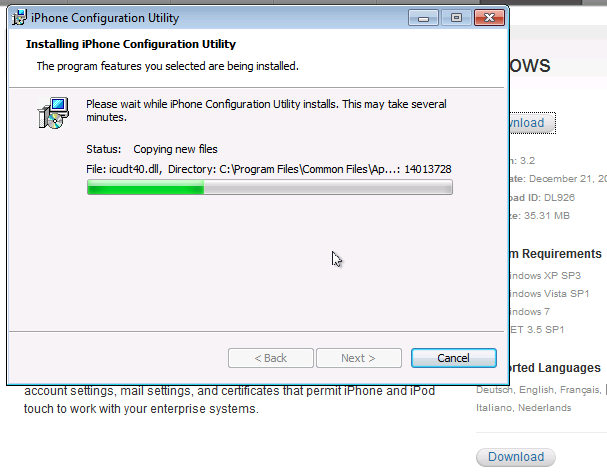
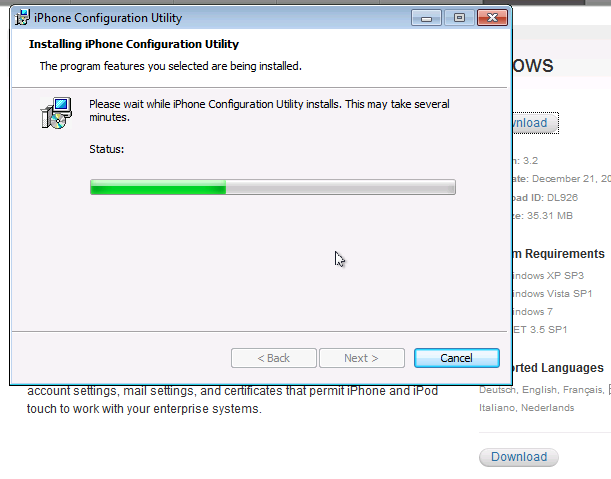
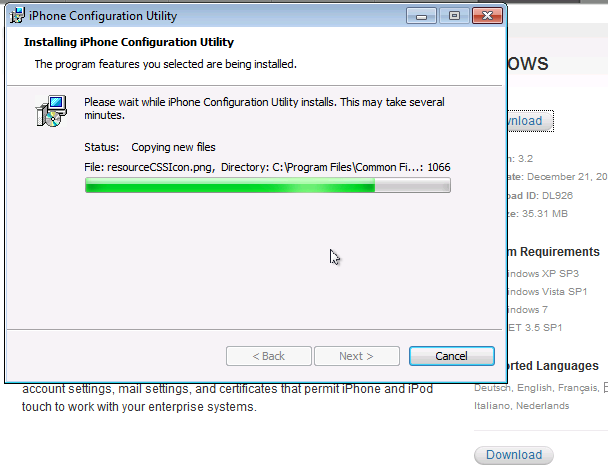
It will take a few minutes for the program to install…
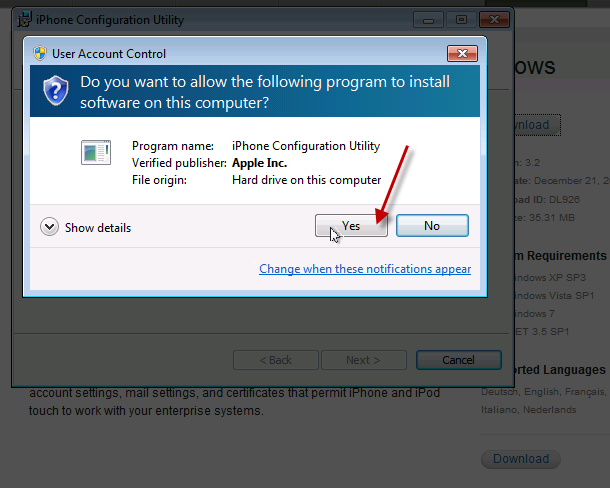
I am installing on Windows 7, so i have several UAC prompts to acknowledge.


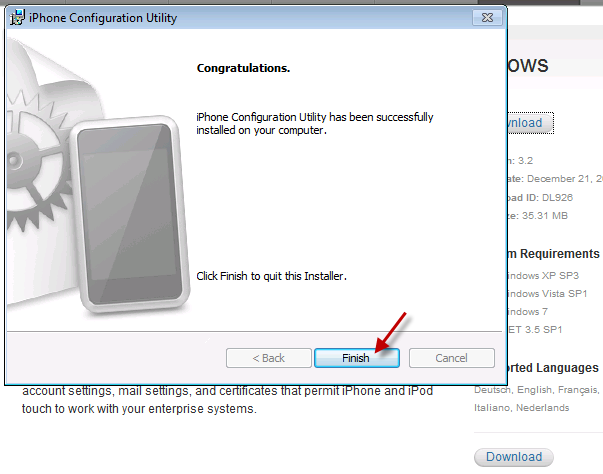
Once installed, let’s run our Utility.

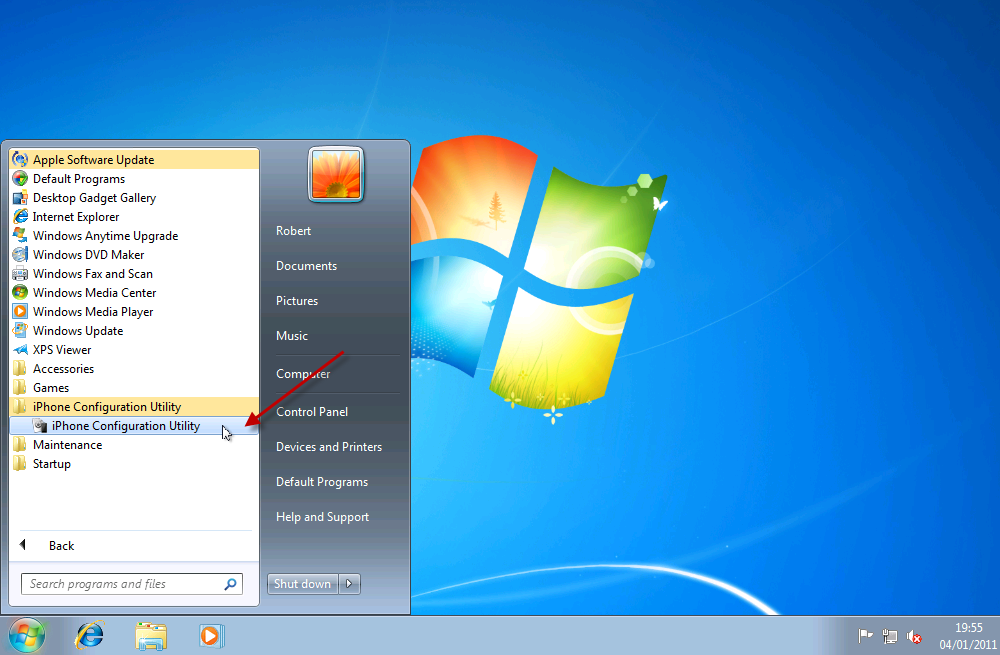
As the program opens up, you will see several areas on the left hand side.
Devices
Applications
Provisioning Profiles
Configuration Profiles
We are only interested in Configuration Profiles in this article.
Click File, and select ‘New Configuration Profile’


A new area will open up on the right hand side.
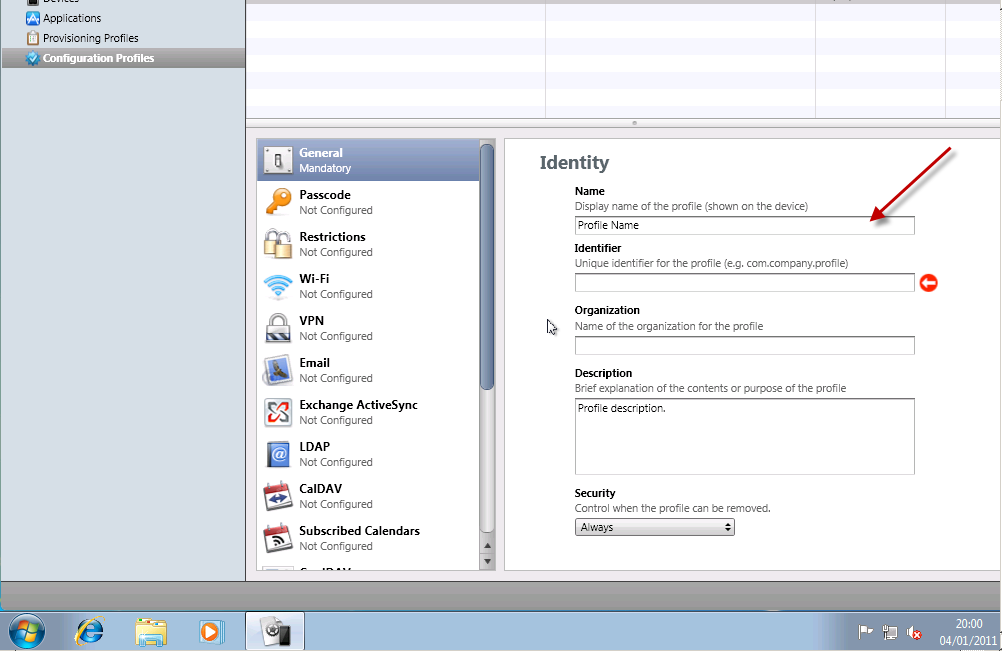
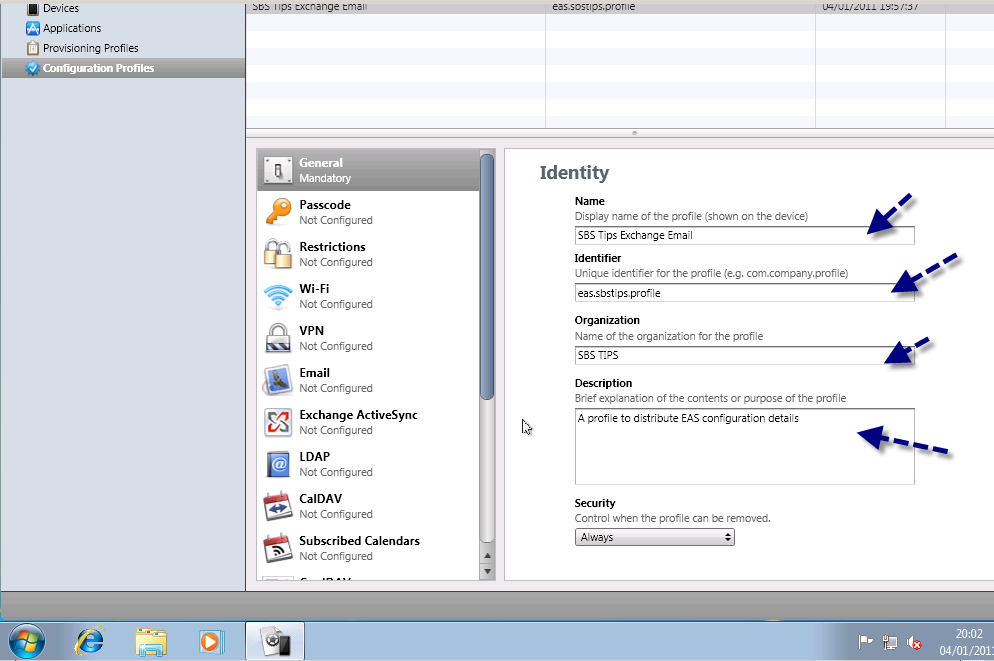
You will need to enter a name for your profile, a unique identifier for this profile, the organization name and a description about what the profile is for.
Name: Quite simply a name you can use to identify this profile.
Unique Identifier – This relates to comparing an already installed profile. So if you have two that match one may update the other. This is a little beyond the scope of what we are trying to achieve here, so i am entering something descriptive, in line with the format suggested.
Organization – Just the name of the company this profile is for.
Description – It’s a description!
Security – Here we can control when the profile can be removed, i like to be a little cautious when working with mobile devices so i leave this so the profile can be always removed.
Now with the general settings finished, lets move on to the Exchange settings. In the left hand pane notice the Exchange Active Sync logo, click on this.
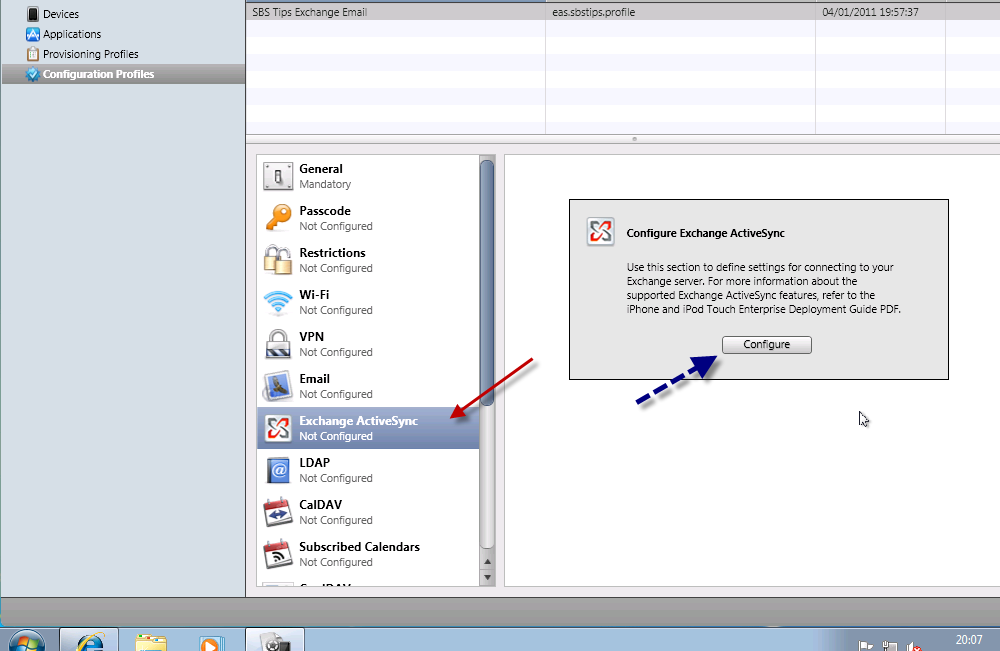
You will see a message about using this section to define settings to connect to Exchange, and also a referral to the a useful PDF guide on using Apple devices with Exchange, this can be found here.
Let’s click on Configure.
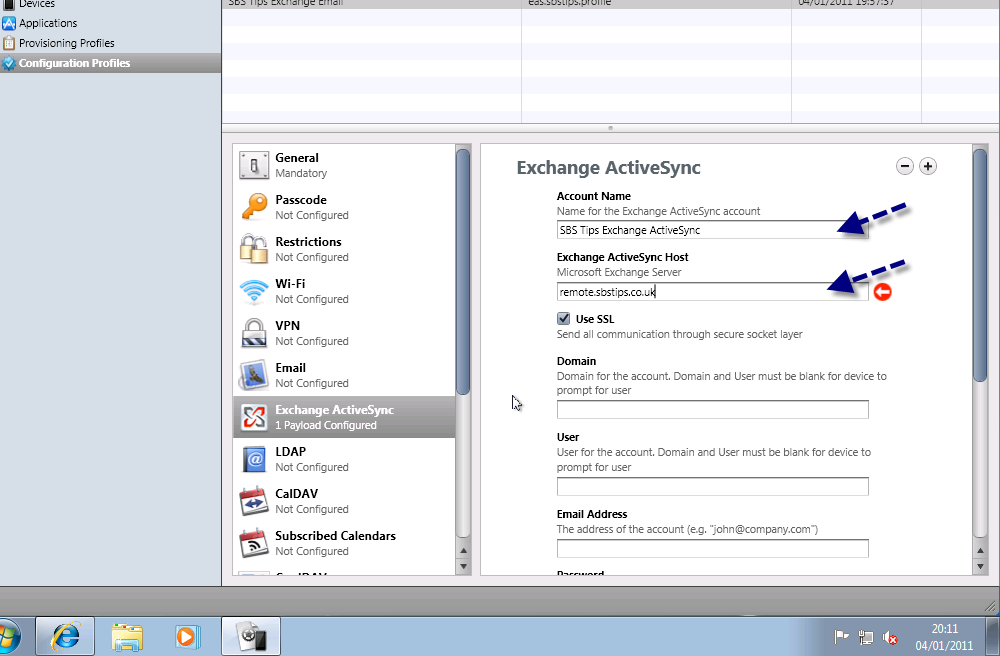
We will need to fill out the information here in order to configure our profile to sync with our server.
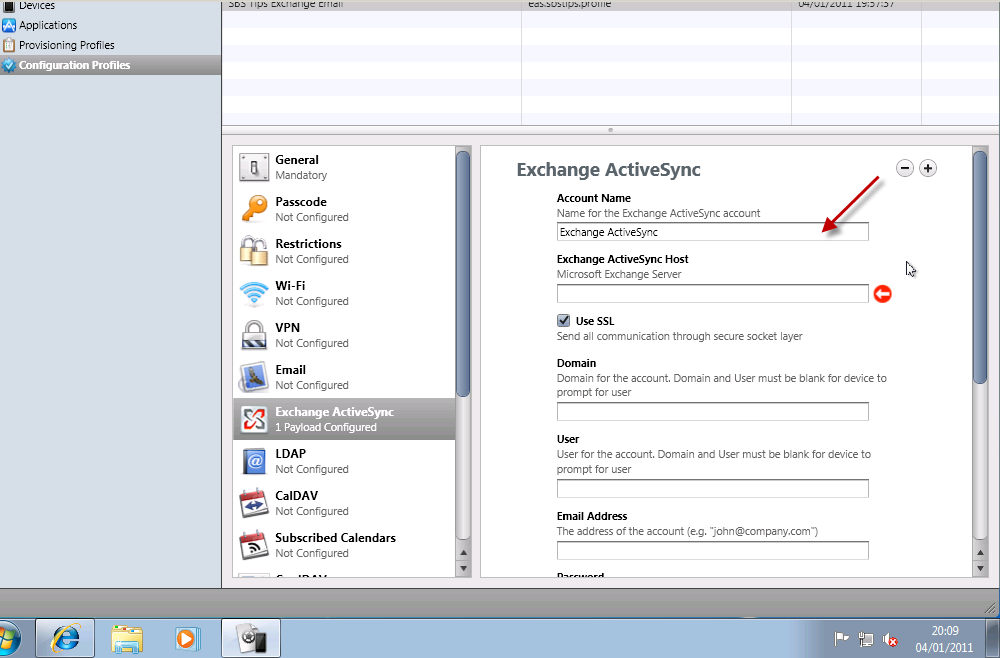
Account Name – The name of the account as seen on the device
Exchange ActiveSync Host – the FQDN of your exchange server (remote.mydomain.com)
Use SSL – by default EAS will function using SSL so i will leave this checked.
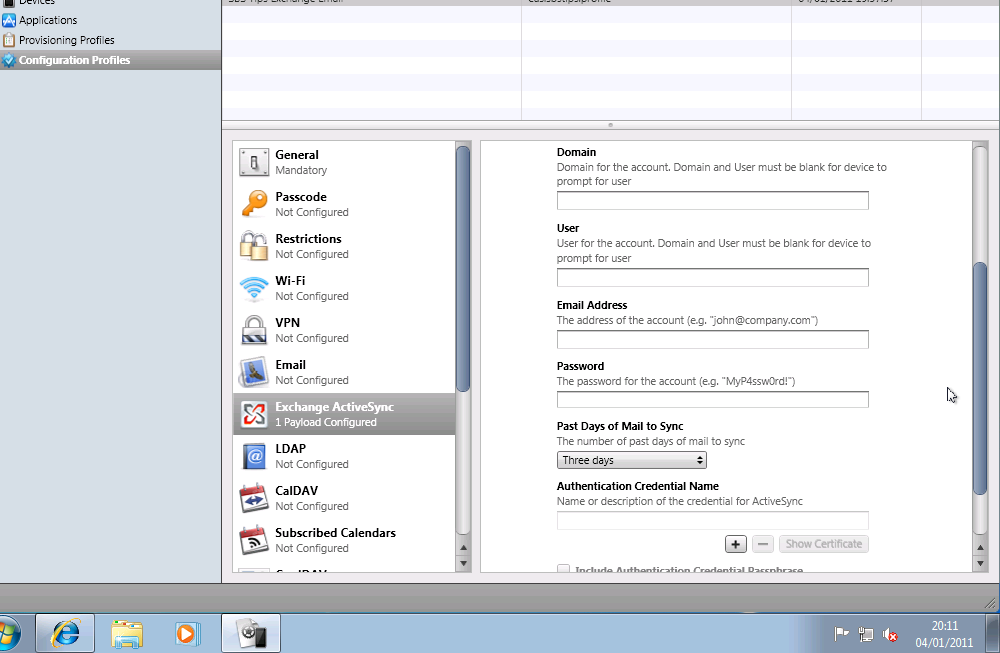
Domain / User / Email Address / Password – These sections will be left blank.
Past days of Mail to Sync – How many days of email to sync by default?
Authentication Credential Name – left blank.
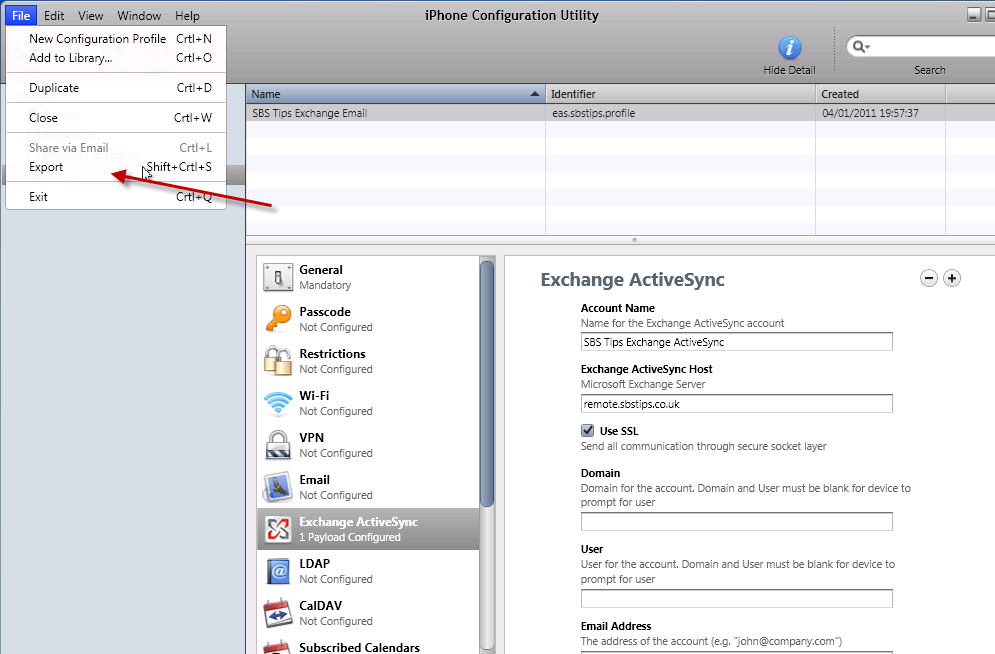
That is our profile configured. Now we need to export it.
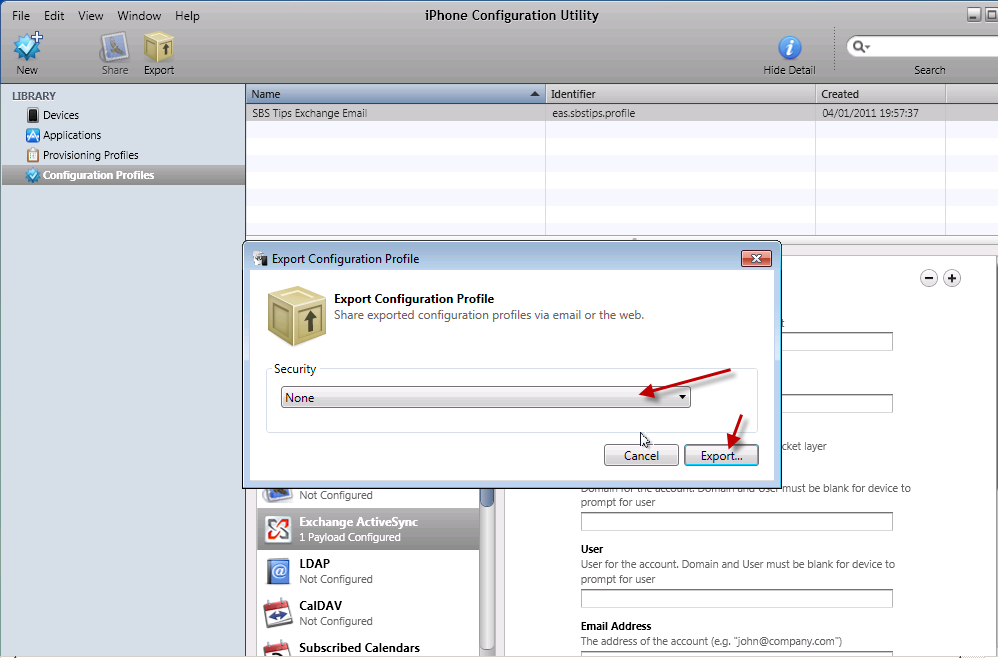
Click on File, and on Export.
In the Export Configuration Profile wizard that opens, you have the chance to sign your profile, sign and encrypt a profile for each device, or to choose None.
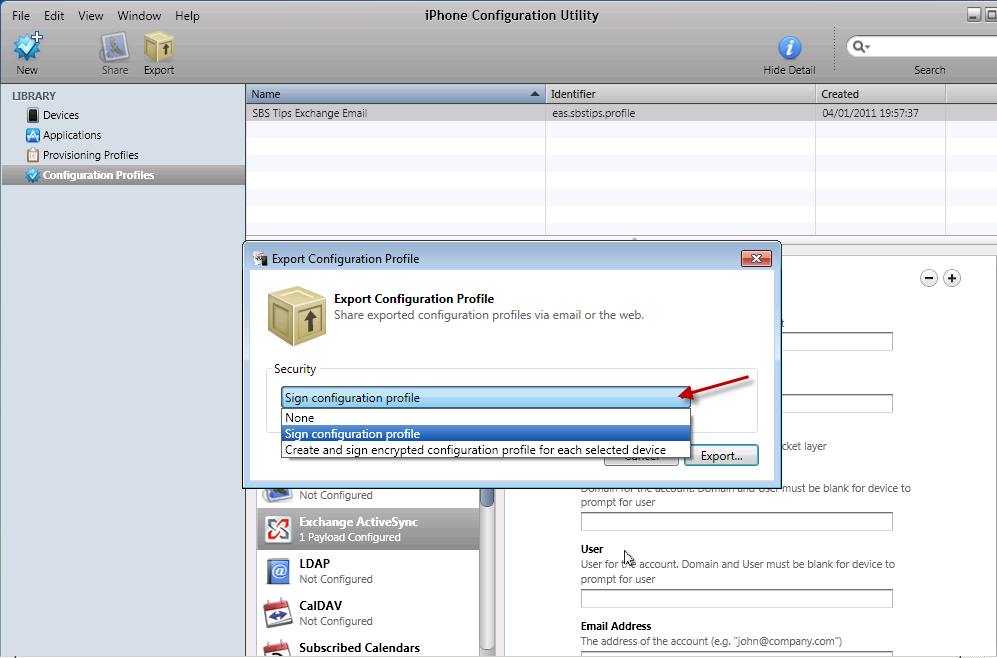
Since i am not an expert in Apple’s configuration utility, and i don’t have a huge budget to work with, i haven’t really explored the options and differences between them here. Suffice to say, Signing the file, and Encrypting the file seem to work well on a per device basis, aside from that the only downside to not signing them is you see that the profile is unsigned on the iPhone. Granted it doesn’t look as pretty but I’m pretty sure no one will notice.
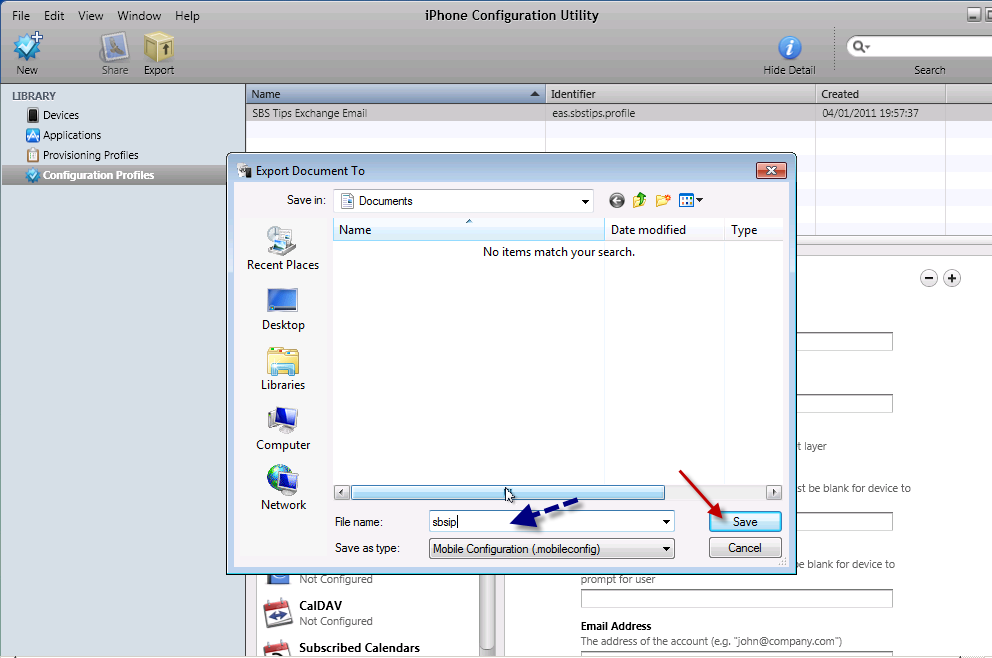
OK, so lets go for the None option for security in the export profile wizard. You will need to enter a name for your file, and then your profile is exported.
I am calling mine – sbsip – short for sbstips iPhone. You will do well to choose a short name as well, as you will see in a moment. Note the file extension .mobileconfig
We now need to move this to our web server. FTP seems to be the wise choice here, but a word of caution.
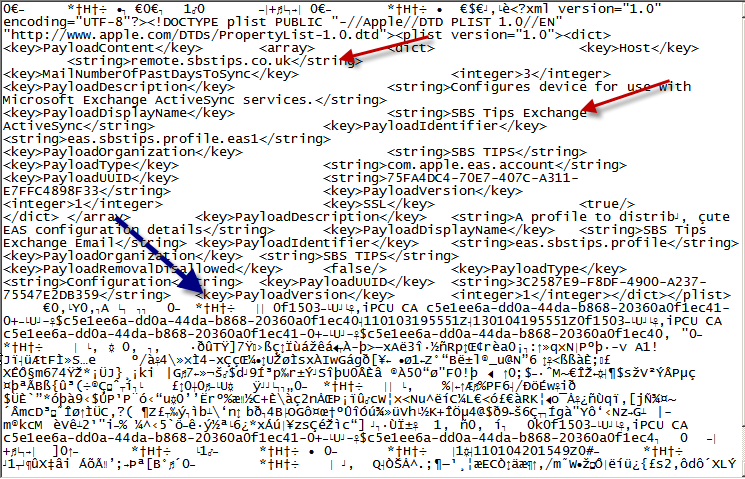
Since this file may contain what some deem to be sensitive information in plain text, i would advise you to consider the security implications of uploading this file before you do so. Just because this will make your life a little easier doesn’t mean your client agrees. If you have followed the article to this point, the sensitive information i am referring to is the address of the EAS server.
If you open up your .mobileconfig file, you can see it is simple XML and the info is easily readable.

Below is a ‘Signed’ version, so you can see the extra detail here is the addition of a signature, but the information itself is not hidden.
So with that warning heeded, a password protected web folder is my recommendation. Users can follow a link on their device, you can provide them a username and password for this folder, and that grants them access to this file. There are of course other methods of doing this, only uploading the file when it is needed for example could be one, but seems like a lot of effort to me..
Continued in Part 2….
