Installing IPCOP as a Hyper-V Guest – Part 2
December 21, 2010 1 Comment
I think i hit the limit for blog entry size – so have had to break this up into several entries.
Before we power it up, we need to add some network interfaces. As mentioned above IPCOP does not support the use of the Hyper-V synthetic NIC, so we need to add a ‘legacy’ network adapter. Well, two to be precise. As this is going to be our NAT device we need both an internal and an external interface.
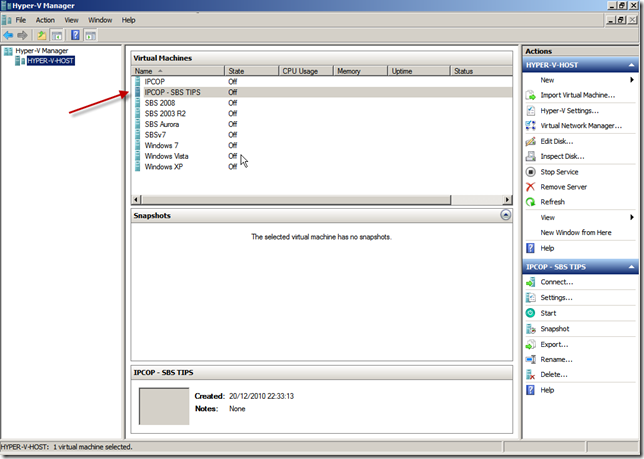
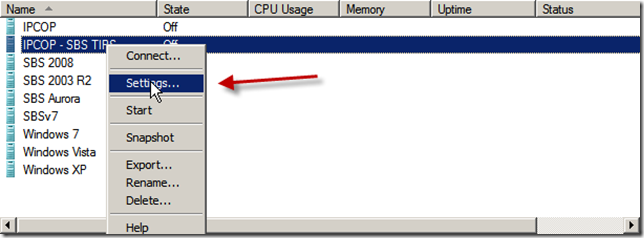
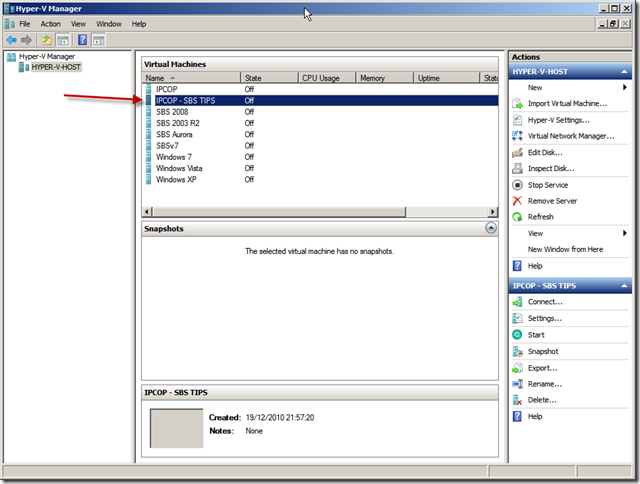
So, lets go into the settings of our VM, Find your IPCOP machine in your VM list and right click and click settings.
This opens the Add Hardware section of the VM settings, select Legacy Network Adapter, and click Add.

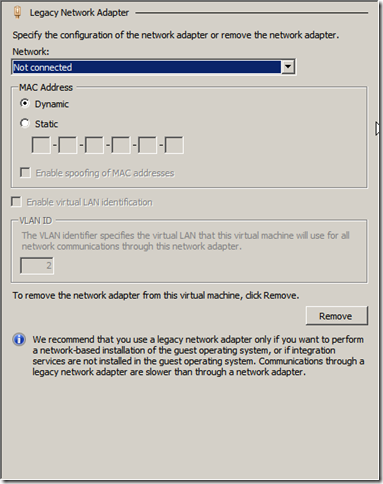
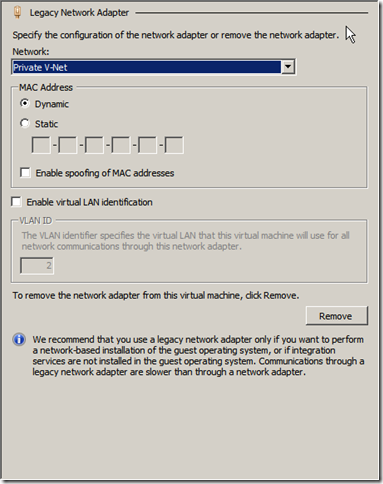
You are now on the Legacy Network Adapter settings page, where you can choose which network this NIC will be connected to, the MAC address settings and the VLAN settings.
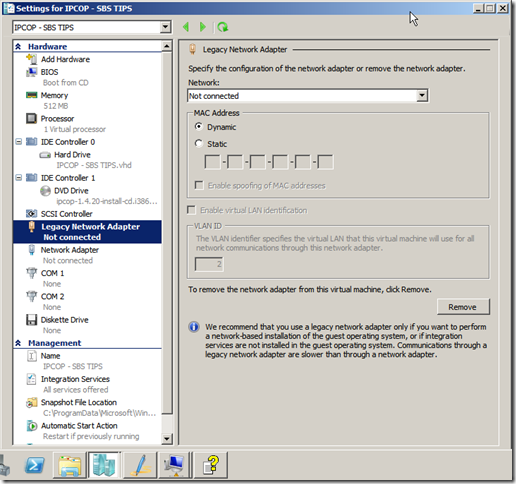
I am possibly showing my inexperience with Hyper-V now, but i have chosen to add this NIC to the ‘Private’ VM network i have created (a network just for the vm’s) and i also have mine set to use a dynamic MAC address.
When you’re ready hit ok, and the NIC will be added. Repeat the process so we have one NIC connected to the Private network for VM’s and one connected to the External network.

In my setup, the first NIC i add or rather the first NIC installed into the Hyper-V guest, is the interface IPCOP treats as it’s GREEN interface. More on that in a bit.
Now that we have our NIC’s added we can boot up our VM. Close down the settings window and go back to the Hyper-V management console. Double click your IPCOP VM to open a connection to it, and hit the power button to power it up.

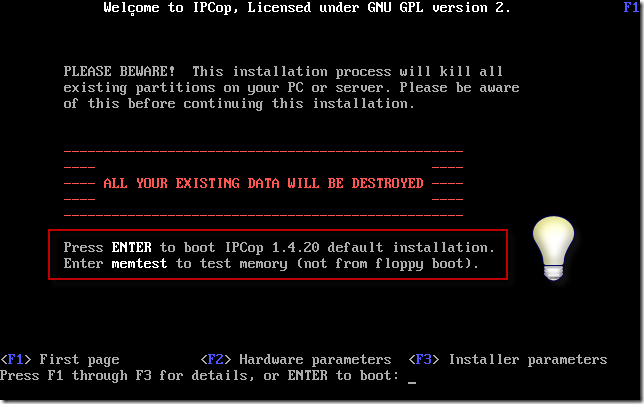
Your VM will start to power up, you will need to press enter when prompted to enter the IPCOP setup.
Choose your installation language.
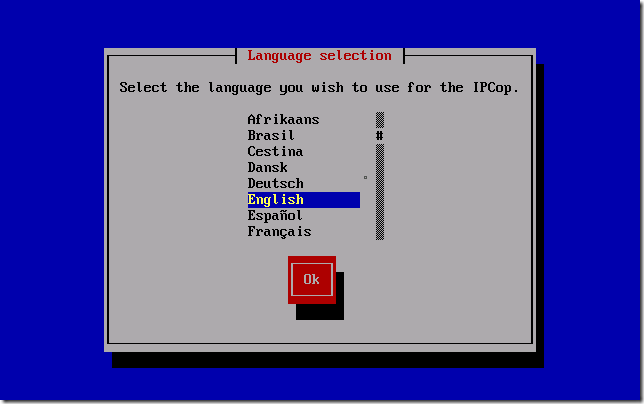
Select OK to continue the installation.

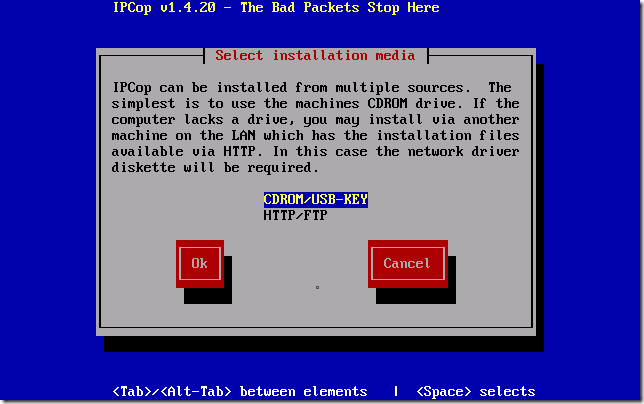
Since we are using an ISO file as our installation media, it is ok to accept the defaults on CDROM/USB Key
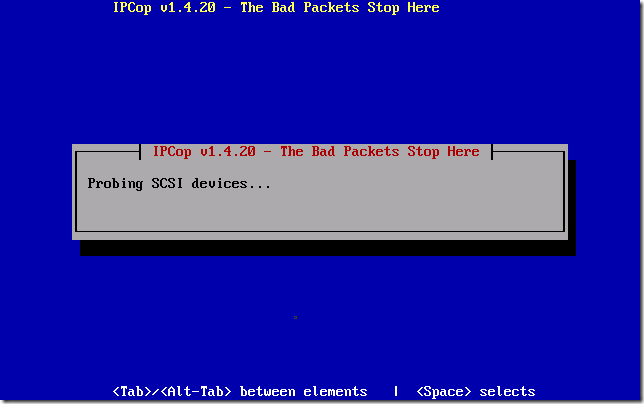
The setup will now probe your hardware.
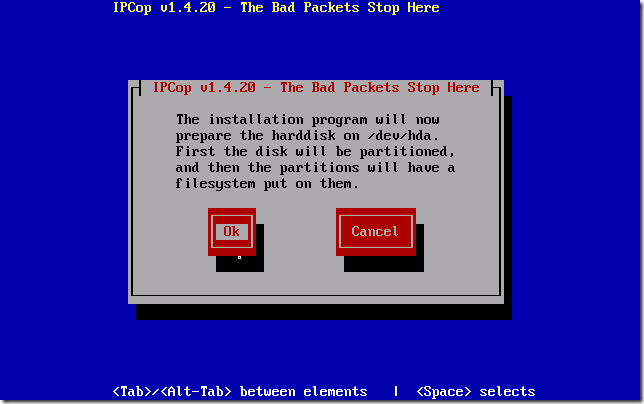
Select OK for the installation to being formatting and partitioning your virtual hard disk.
This process may take some time, so why not get your self a well earned coffee, or beer?
I mean – this takes a really long time – my system is a Quad Core Xeon, and this VM has 1gb of ram and it takes roughly 25 minutes.


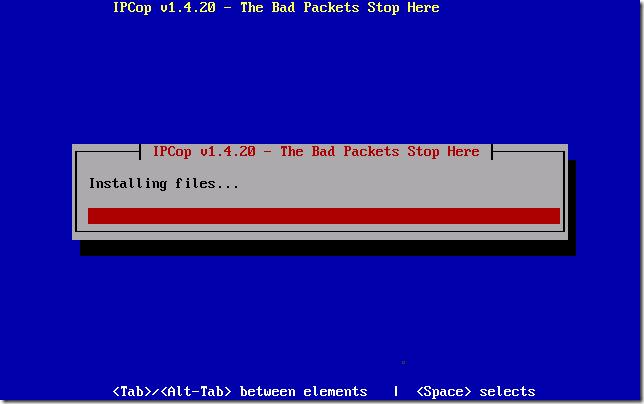

If you hung around by your screen long enough you will have seen a few screens flash up, one saying installing files, another making swap space…
If not, you will have come back to see a screen saying, if you have a backup configuration of IPCOP you can now restore it. I’m assuming you don’t, so we will choose to skip this by selecting ‘Skip’ Press TAB to switch between options, and then press SPACE to select.

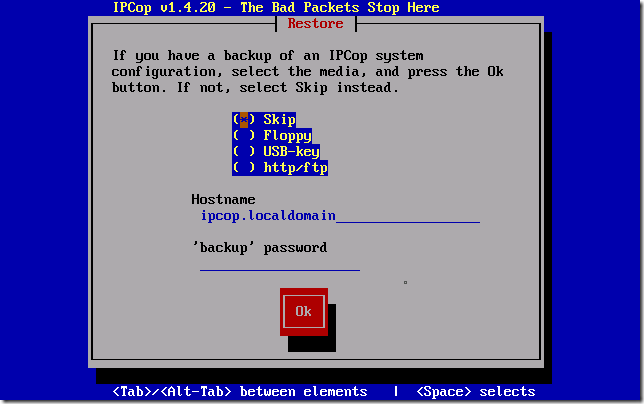
TAB down to OK to continue.
The next screen will attempt to PROBE for you NIC. I think that is the first time i have used the word PROBE in an article, and i don’t often use it in every day conversation either. Is it odd I’m enjoying the use of the word probe? I do though…. PROBE.

Sorry, side tracked there slightly.
So we are Probing for our GREEN interface. This is the interface that is considered ‘safe’ and will represent our internal network.
Press space to start Probing.
You will see a list of NICs whizz past, and hopefully it should settle on something. I am not going to say what it will settle on, as i am not sure if it is dependant on what type of Physical NIC you have in your system, mine has chosen – Digital 21x4x Tulip PCI Ethernet card.
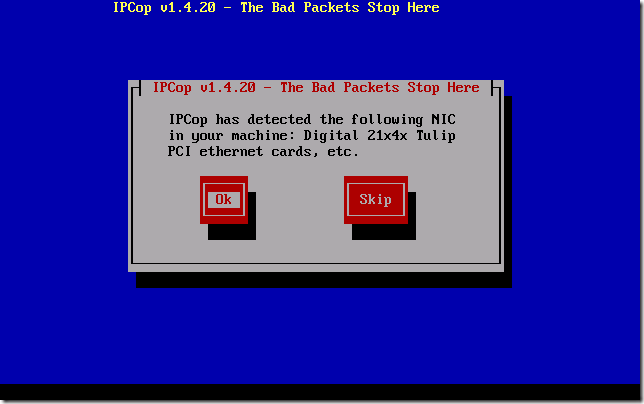
Select OK.
We need to enter our Internal IP address now for the IPCOP system. I am a bit of a traditionalist so i keep my SBS boxes on the 192.168.16.x/24 range. So I’ll put the IPCOP on 192.168.16.254
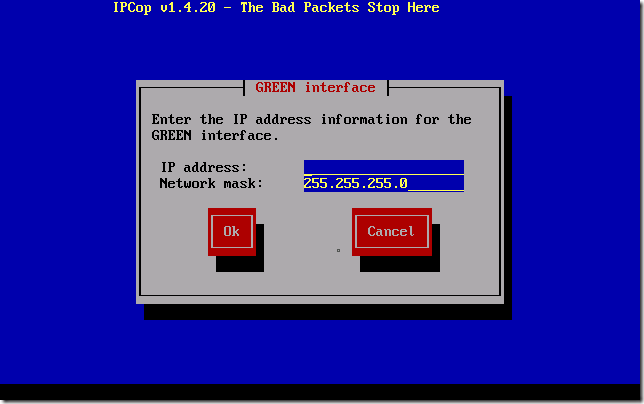
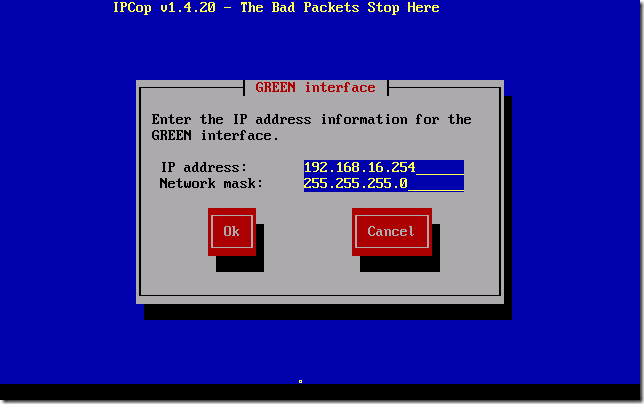
Type in your address, including the ‘.’ and when you’re ready TAB down to OK.
You will then see a quick screen flash up saying installing GRUB, and then it will confirm a successful installation..
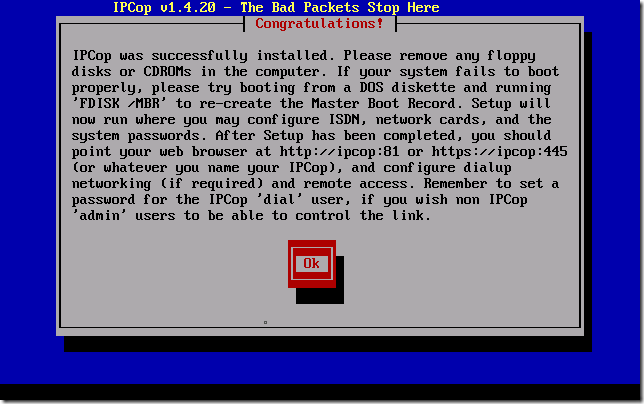
You’re only choice here is to read the notes, and hit OK.

Pingback: Installing IPCOP as a HYPER-V Guest – Part 1 | Title (Required)